External Storage AWS
To attach an Amazon AWS S3 bucket to your Arcsecond account, we recommend to create a specific IAM user with a dedicated read-only policy. This tutorial shows the complete procedure to do so. At the end, you will have to provide the well-known AWS_ACCESS_KEY_ID, AWS_SECRET_ACCESS_KEY as well as the bucket name and the AWS region for Arcsecond to parse your data.
We will guide you through the creation of a read-only policy, then that of a new IAM user, attaching the policy to it.
Create a read-only S3 policy for your bucket
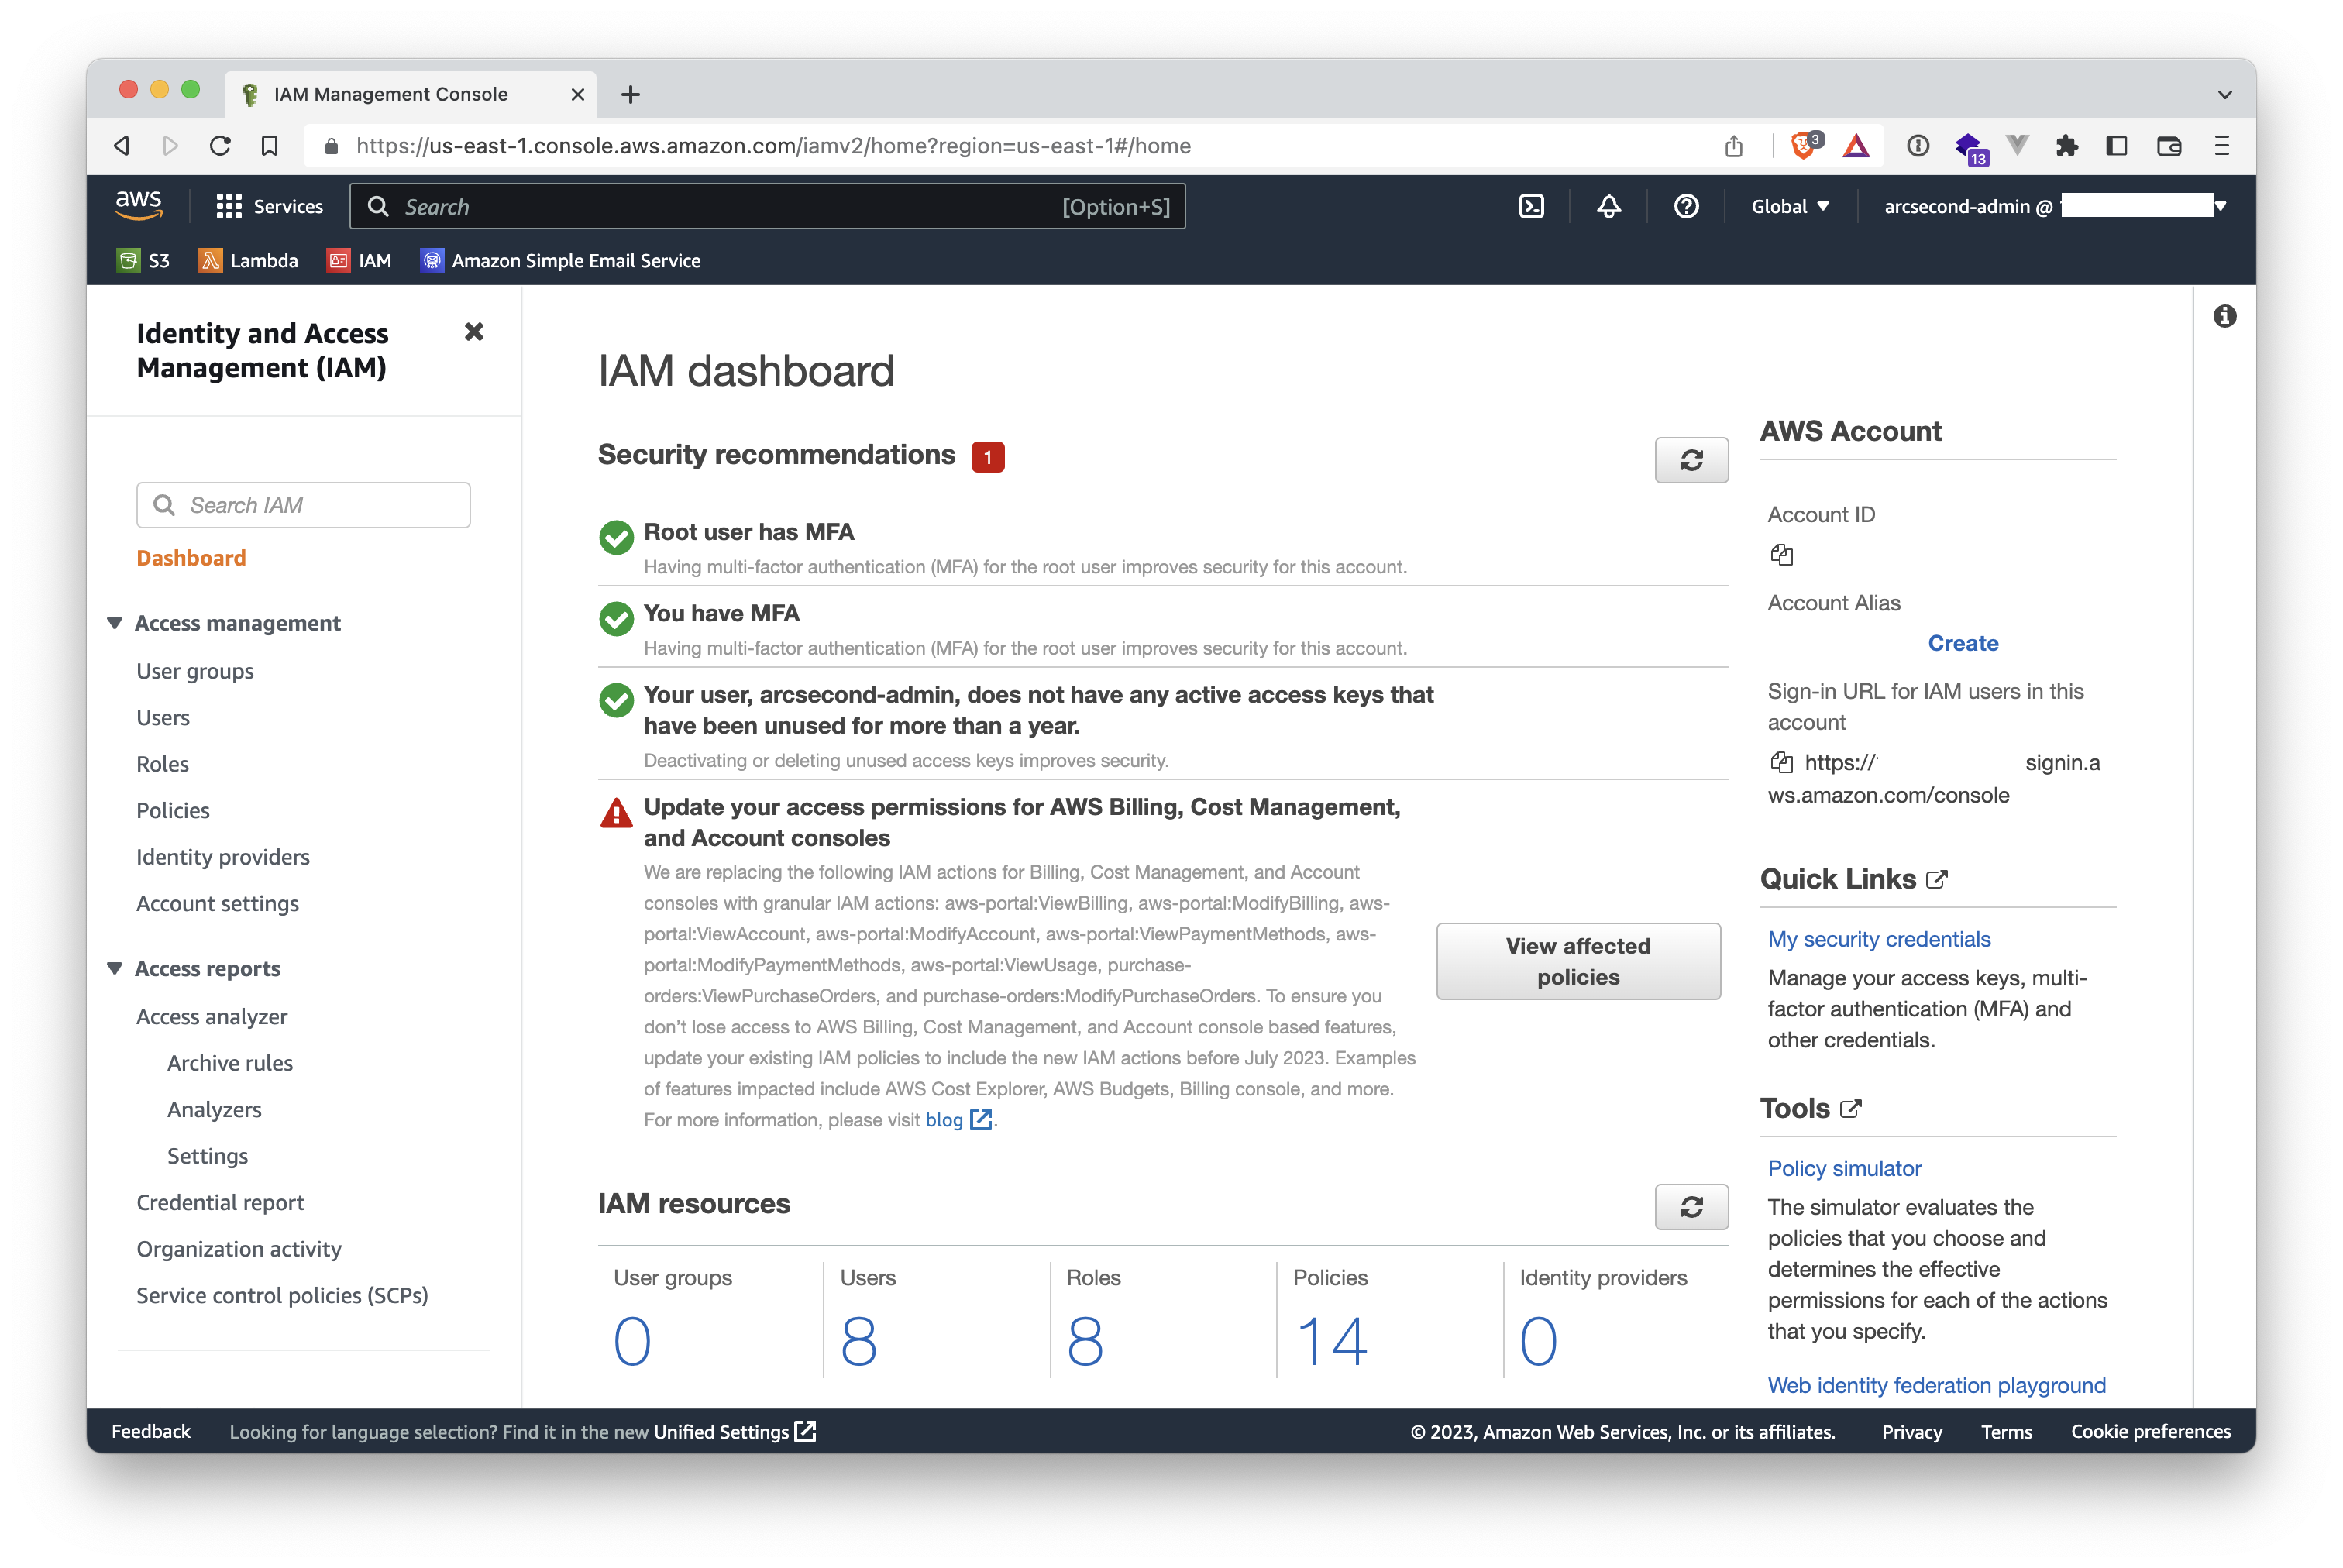
- To create a new IAM policy, login to your AWS console, and select the IAM service. You will end up in the IAM home page.
INFO
Arcsecond-specific information has been removed throughout the tutorial images.
- Open the
Policiespage by clicking the link on the left-hand sidebar.
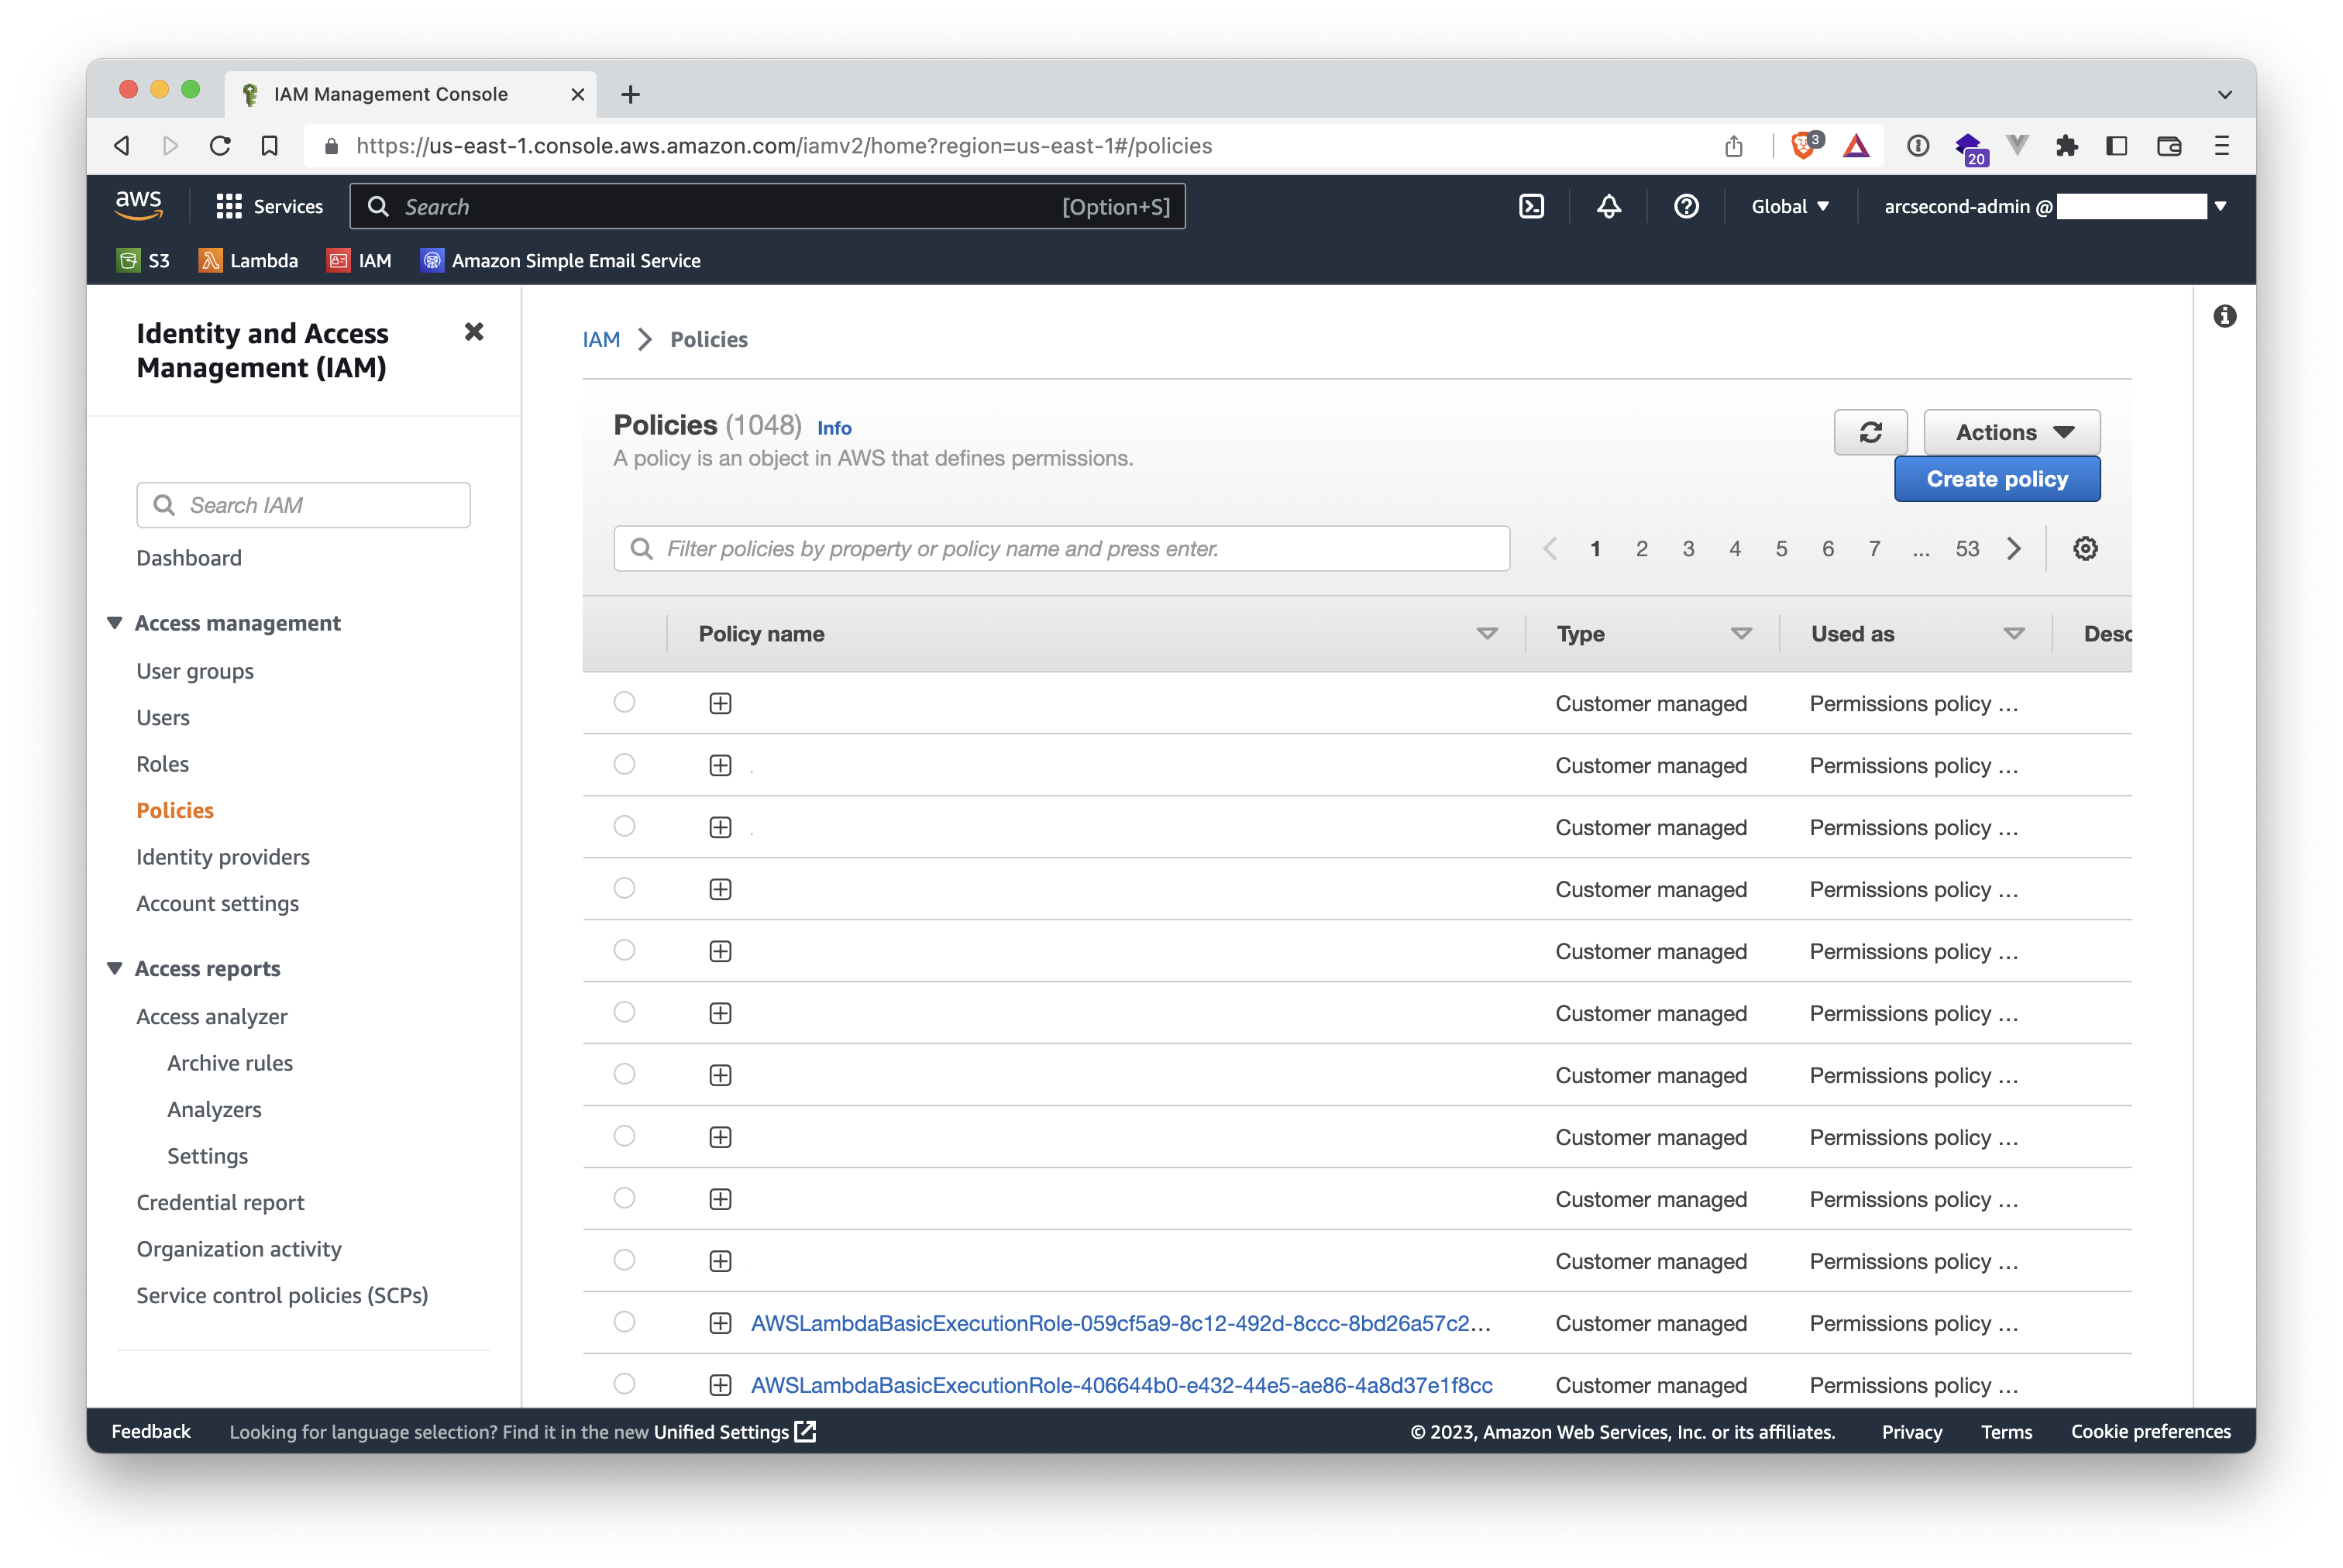
- Click the "Create Policy" button on the upper-right to start the short workflow of creating a new policies.
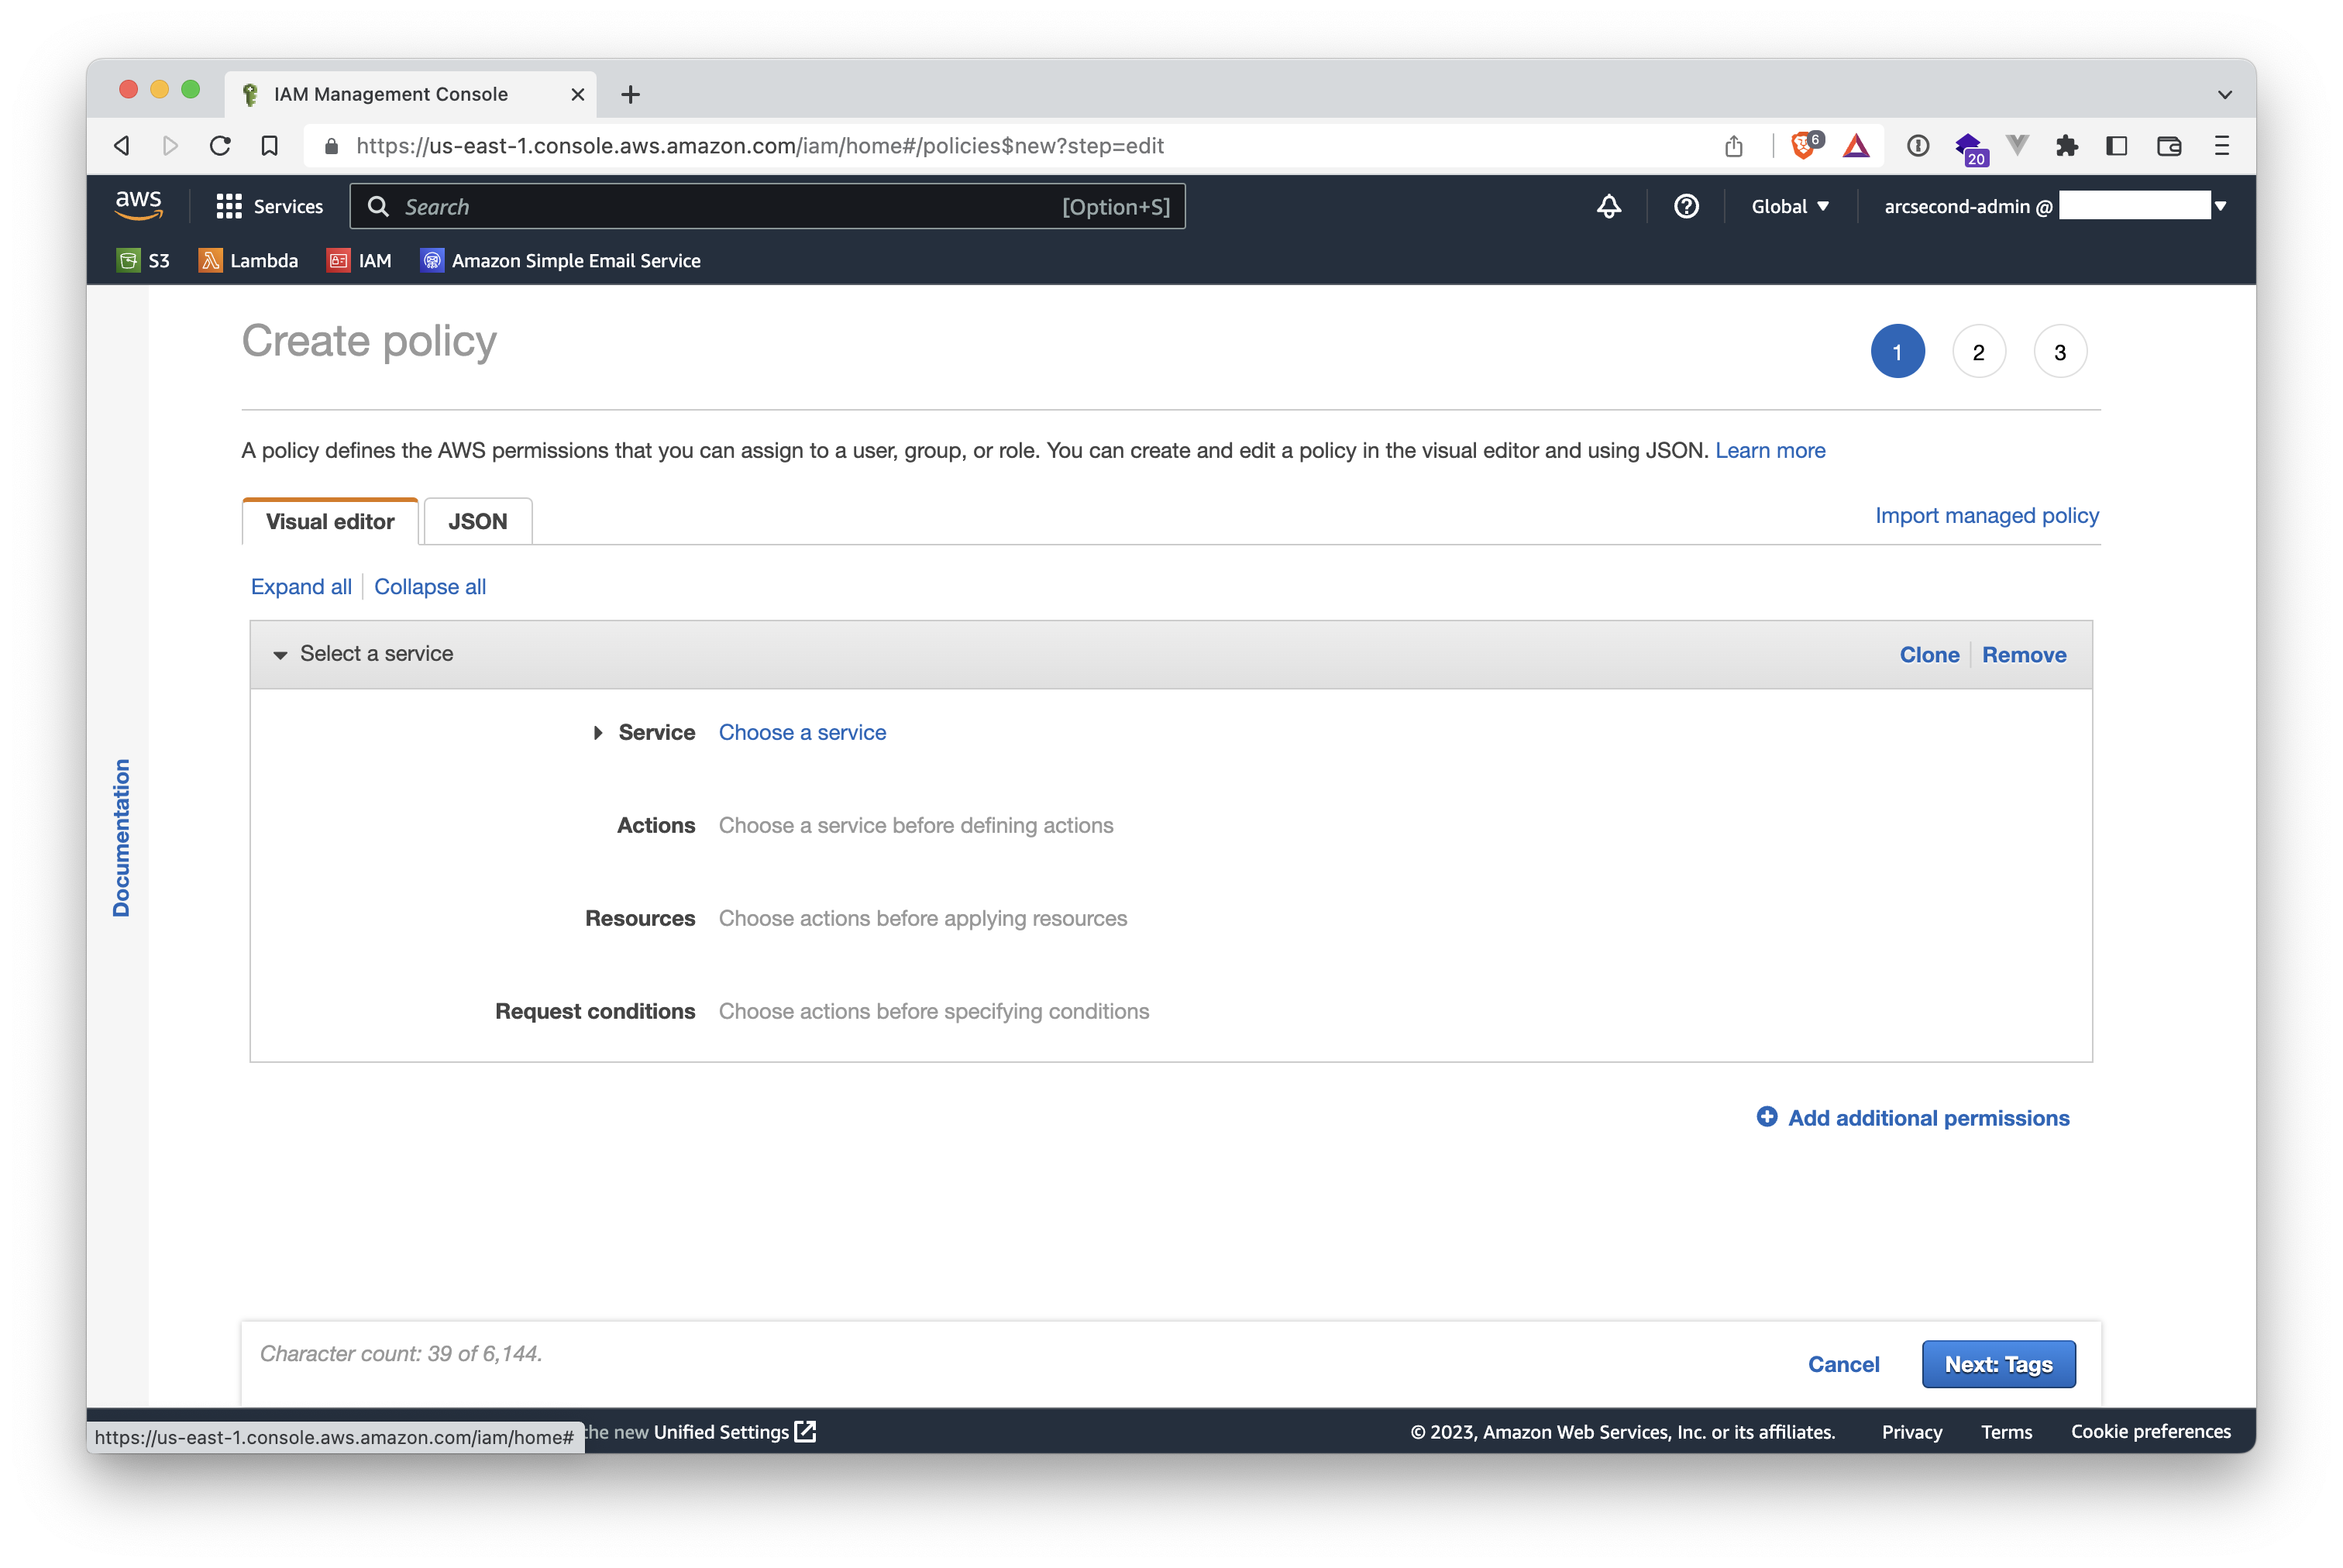
- Choose the
JSONtab.
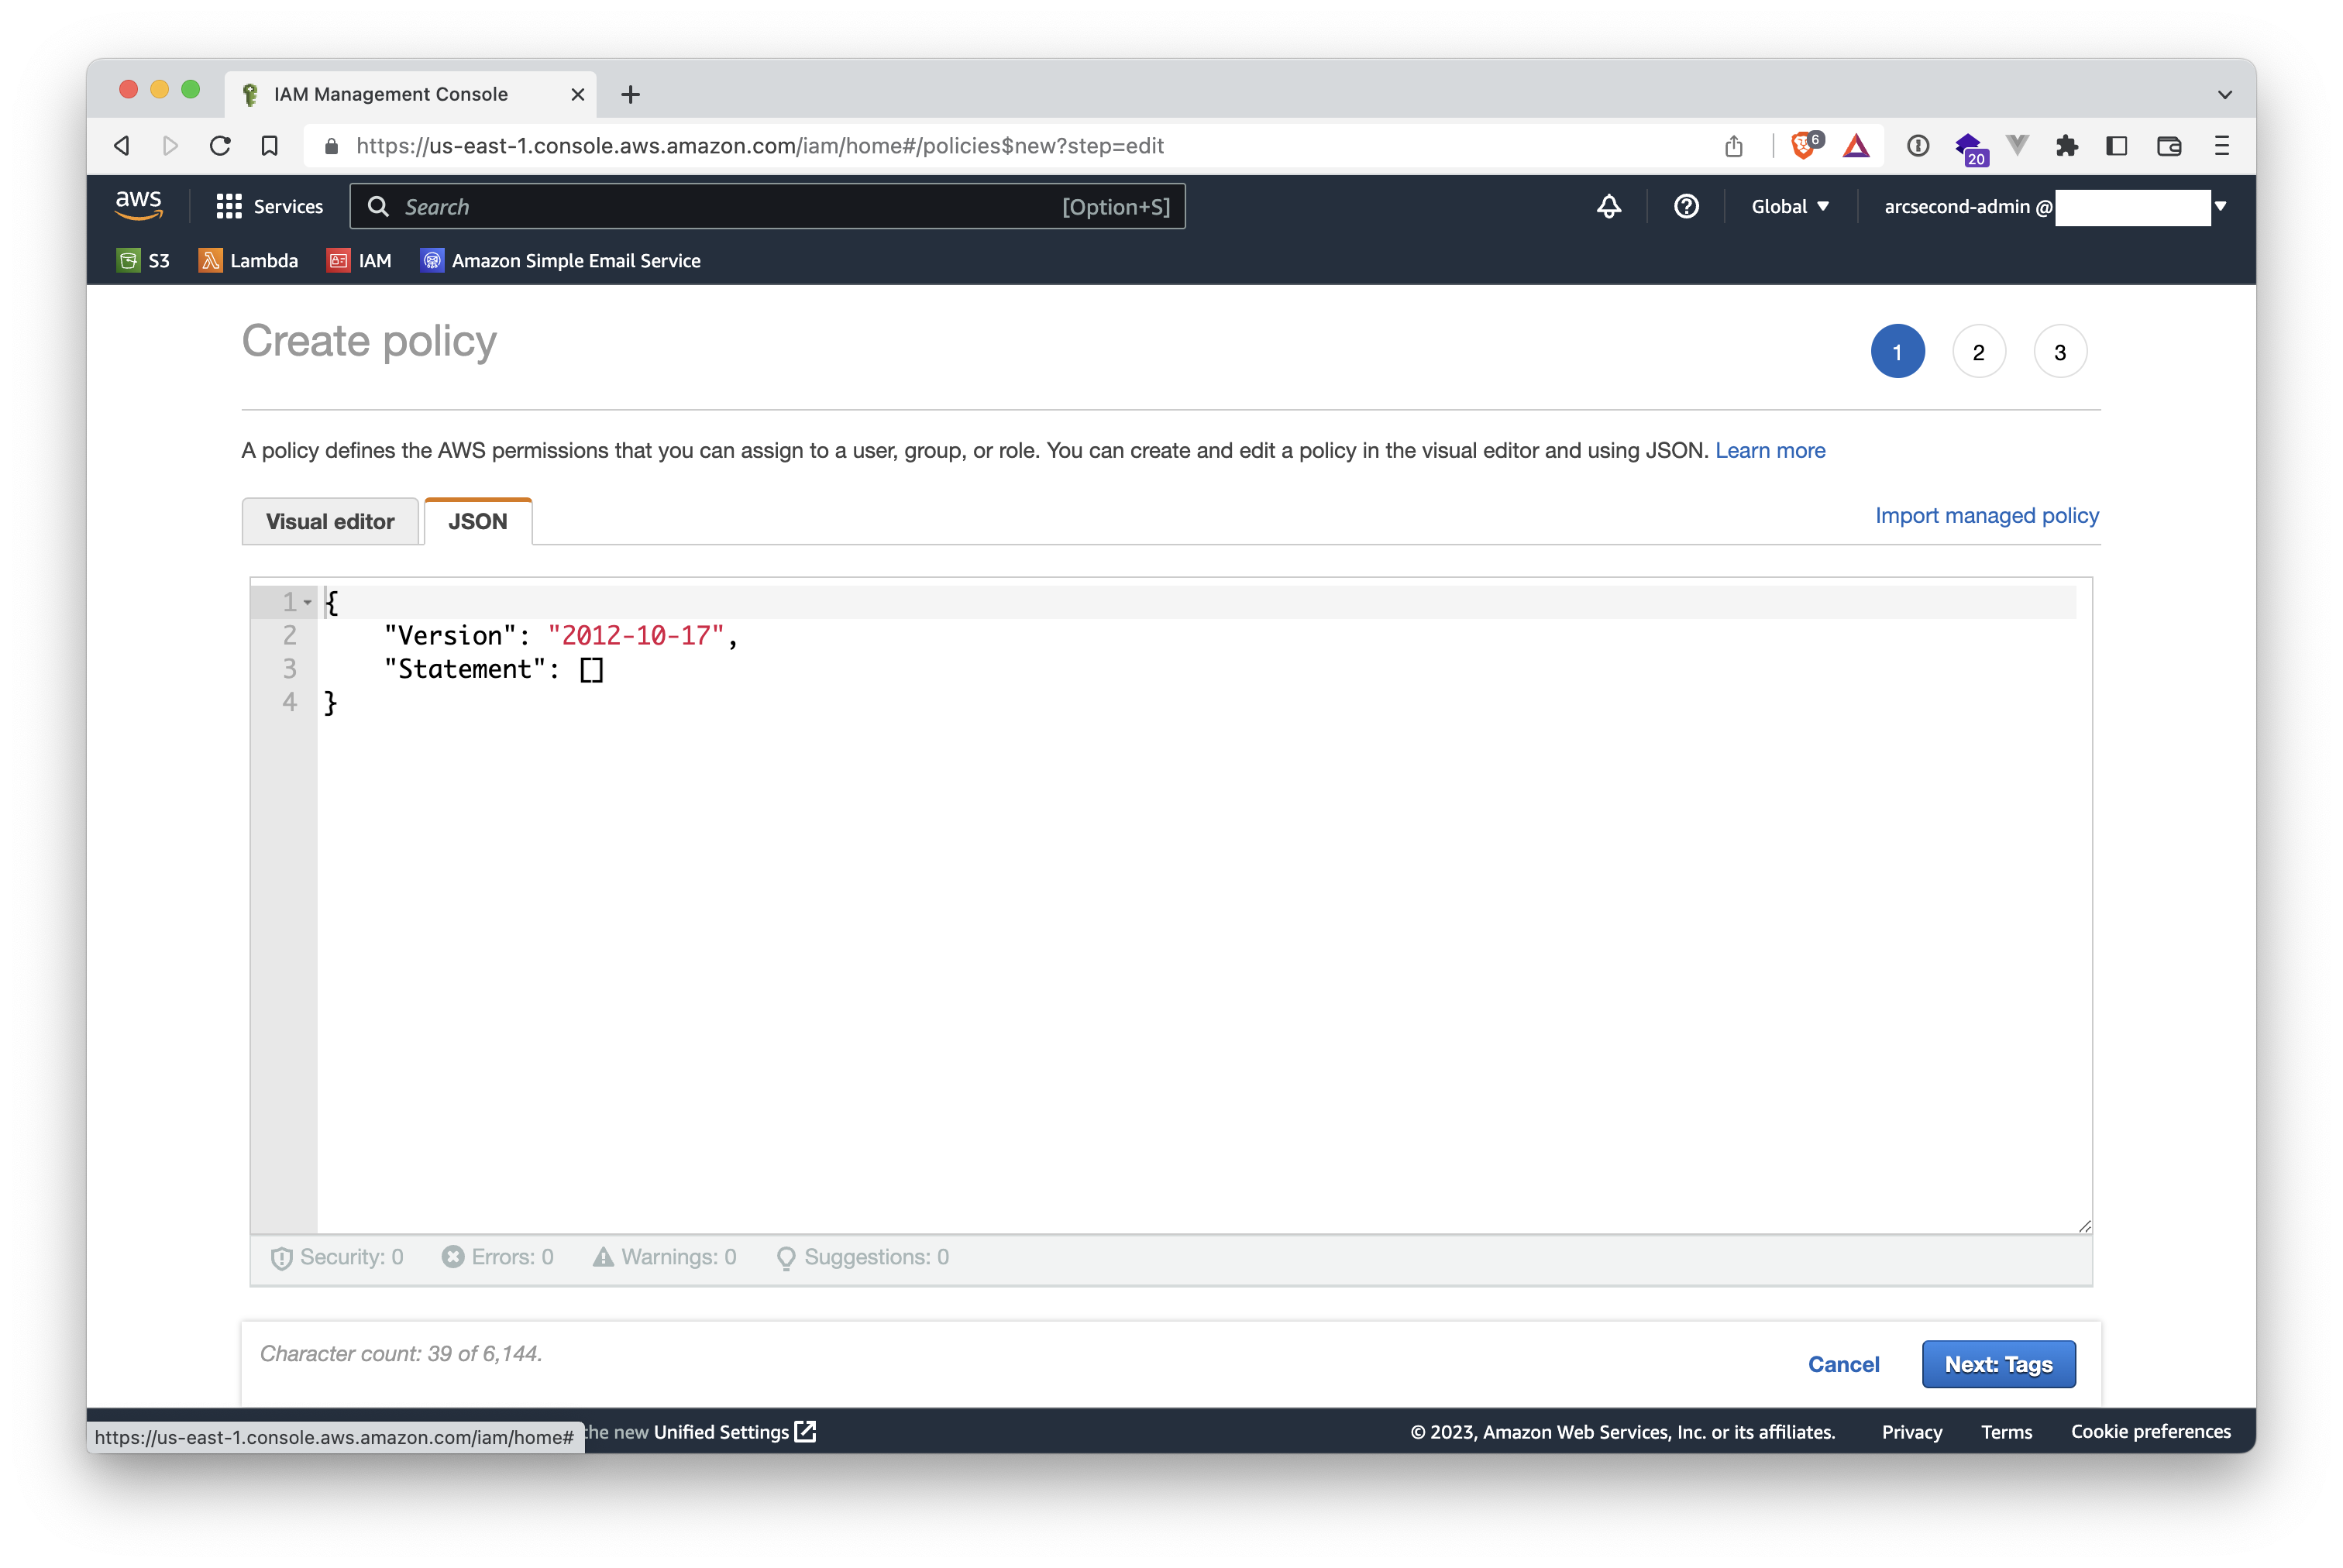
- Copy the following code and paste it as-is the actual content with it, except for the string
name-of-your-bucketto be replaced with your own S3 bucket name. Note that you must have the two lines in the Resources section for the access to work.
{
  "Version": "2012-10-17",
  "Statement": [
    {
      "Sid": "VisualEditor0",
      "Effect": "Allow",
      "Action": [
        "s3:List*",
        "s3:Get*"
      ],
      "Resource": [
        "arn:aws:s3:::name-of-your-bucket",
        "arn:aws:s3:::name-of-your-bucket/*"
      ]
    }
  ]
}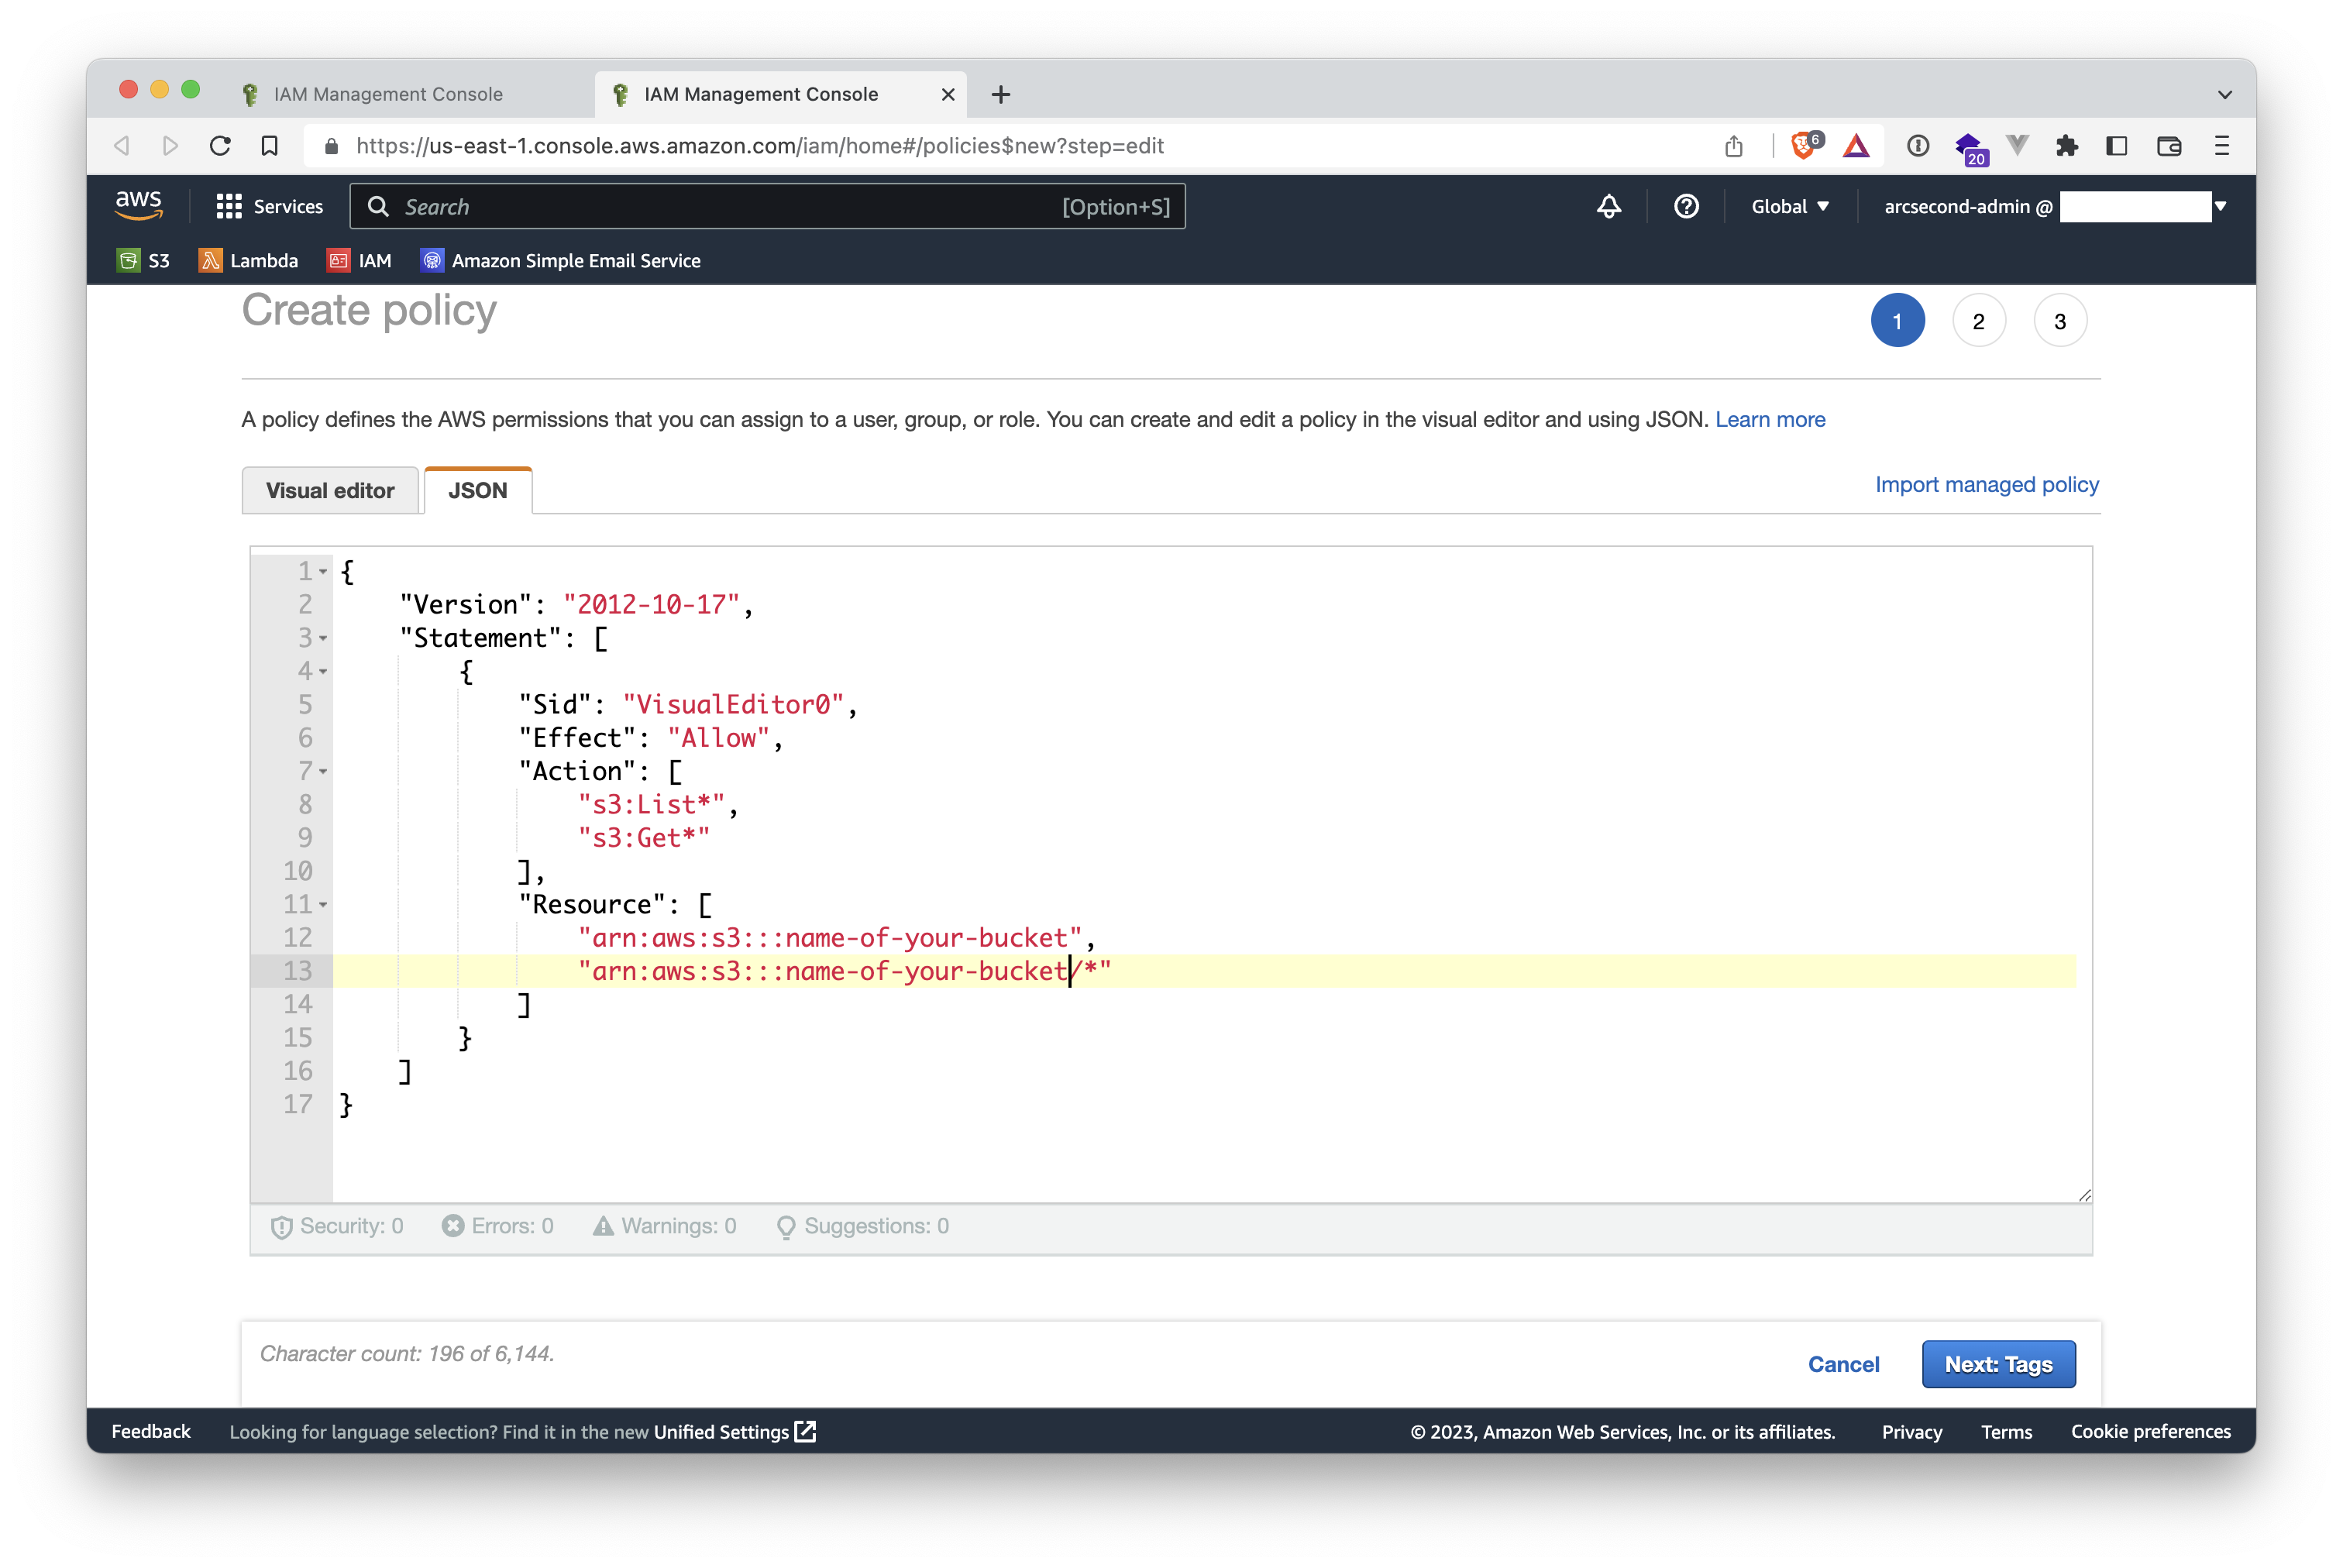
- Then click the "Next: Tags" button on the lower-right, to navigate to the Tags step.
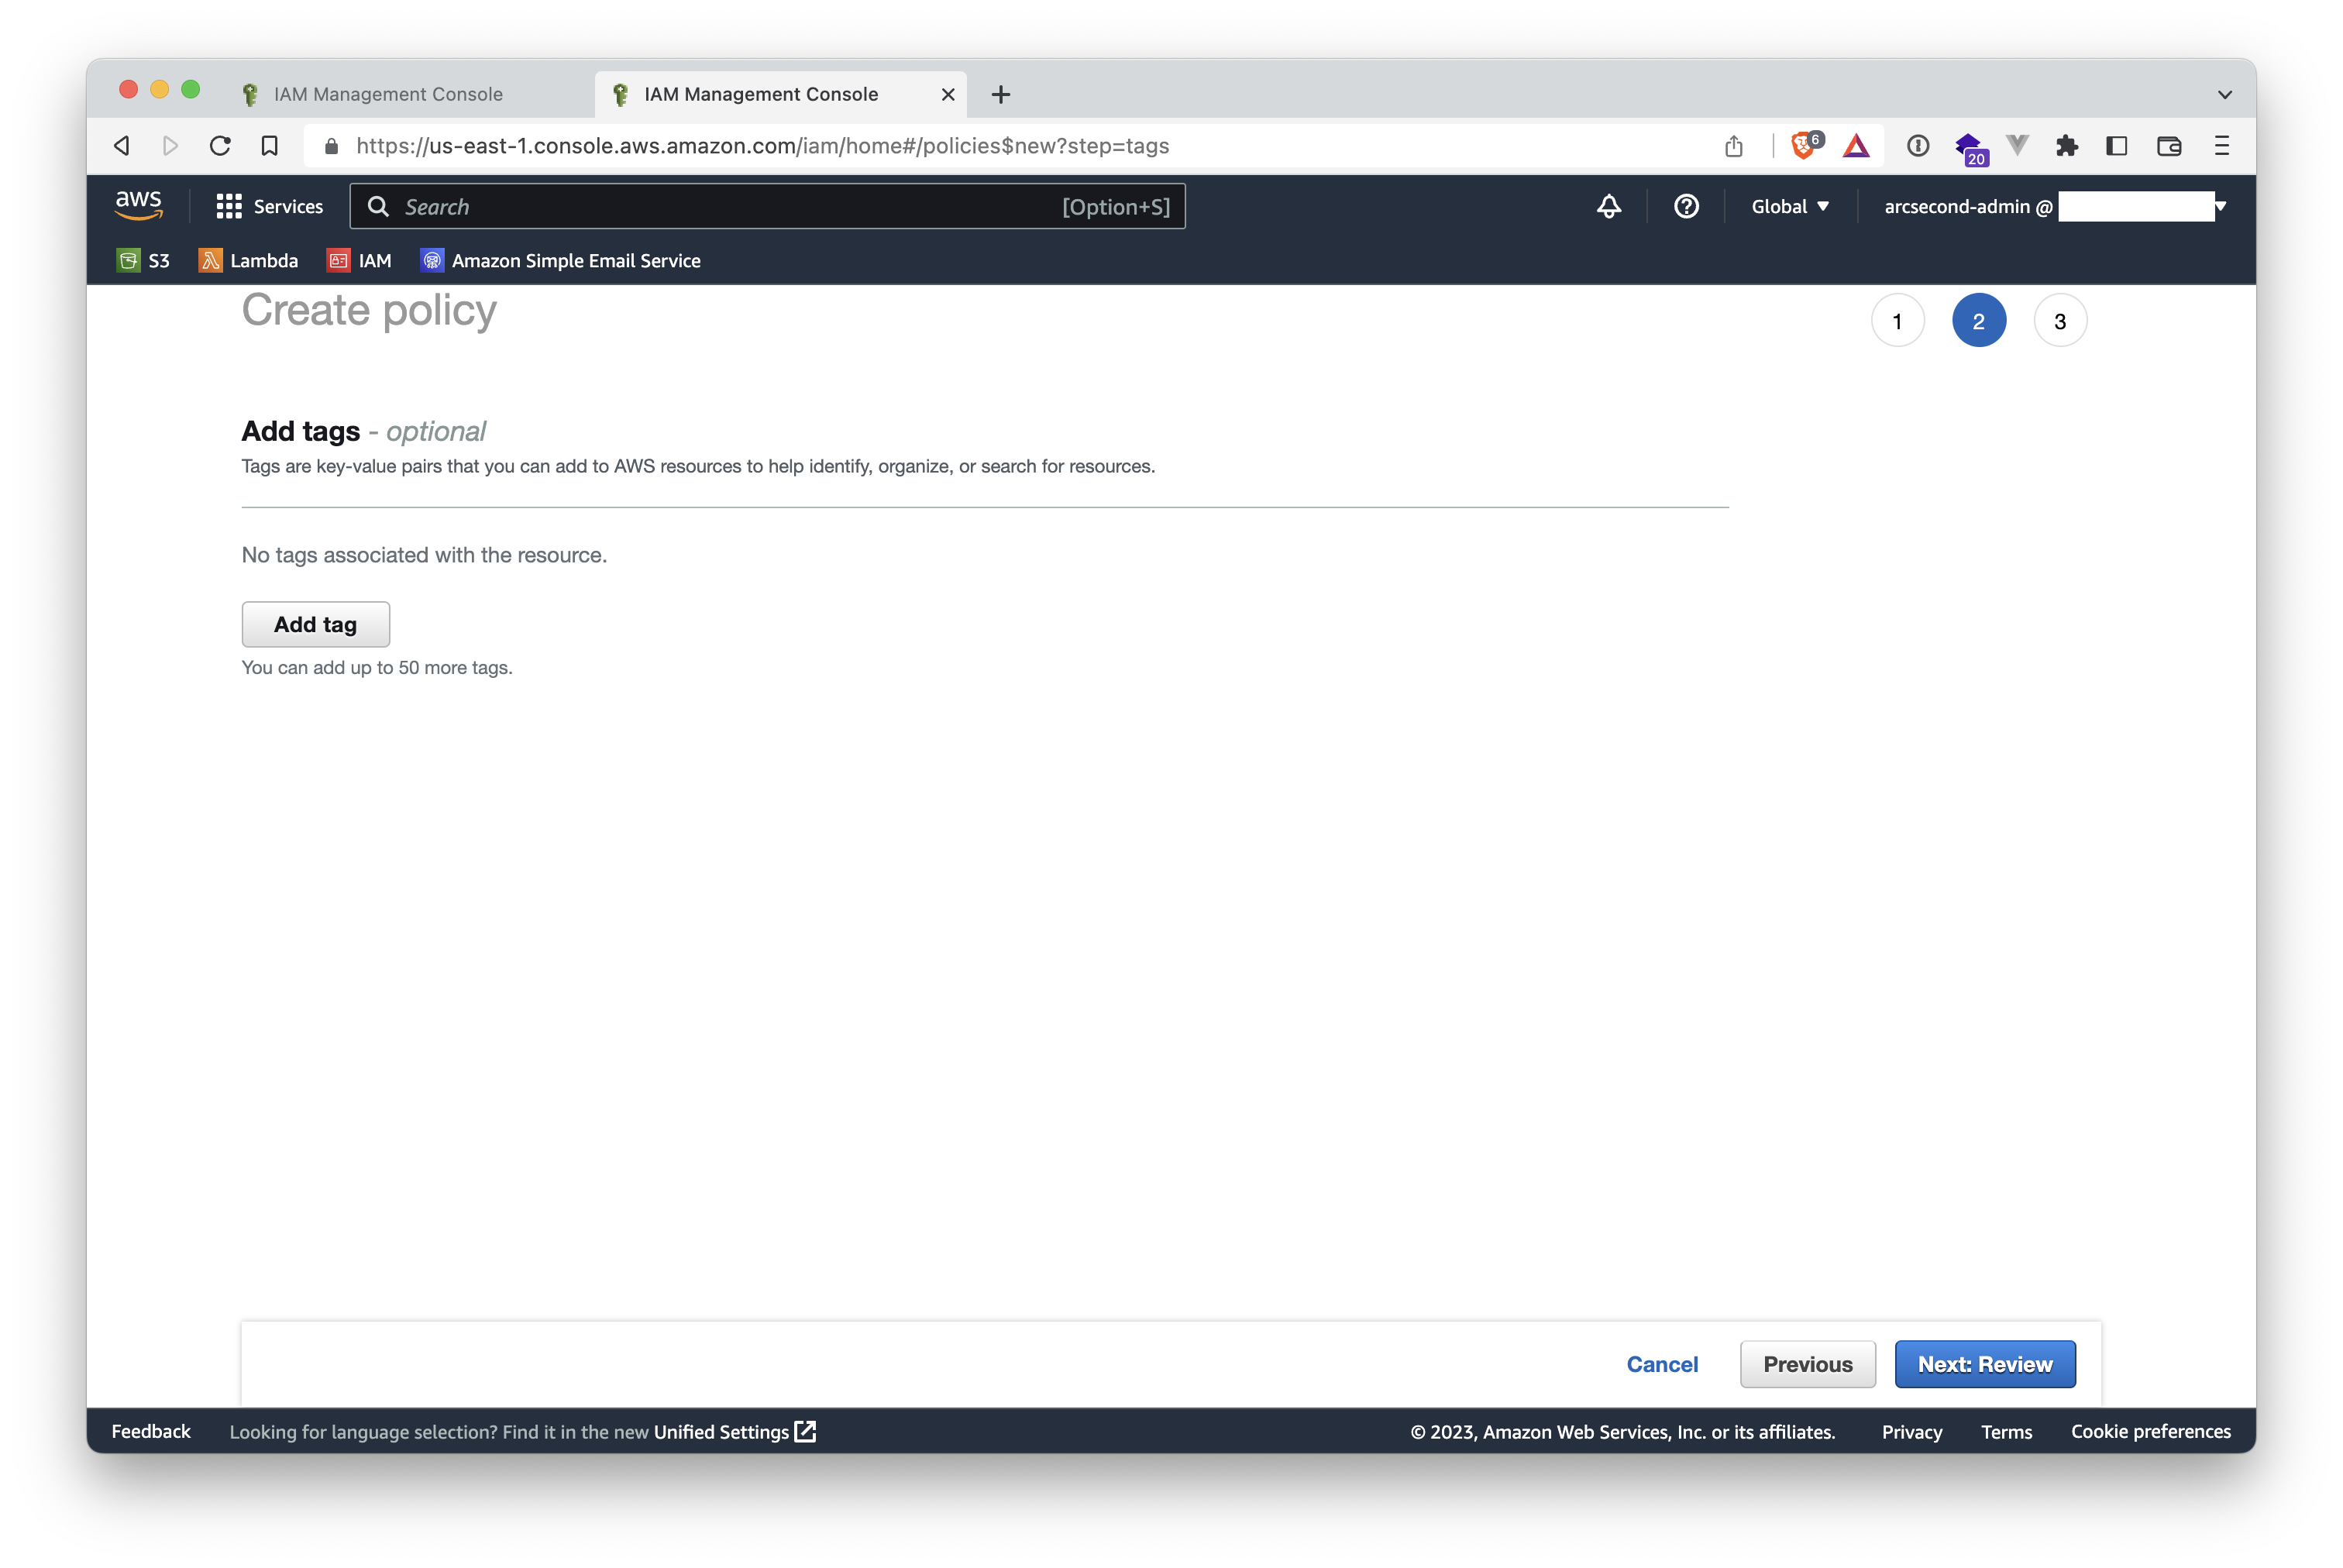
- Optionally, give one or multiple tags to your policy (this has no effect nor impact on Arcsecond attachment). Then click the "Next: Review" button on the lower-right.
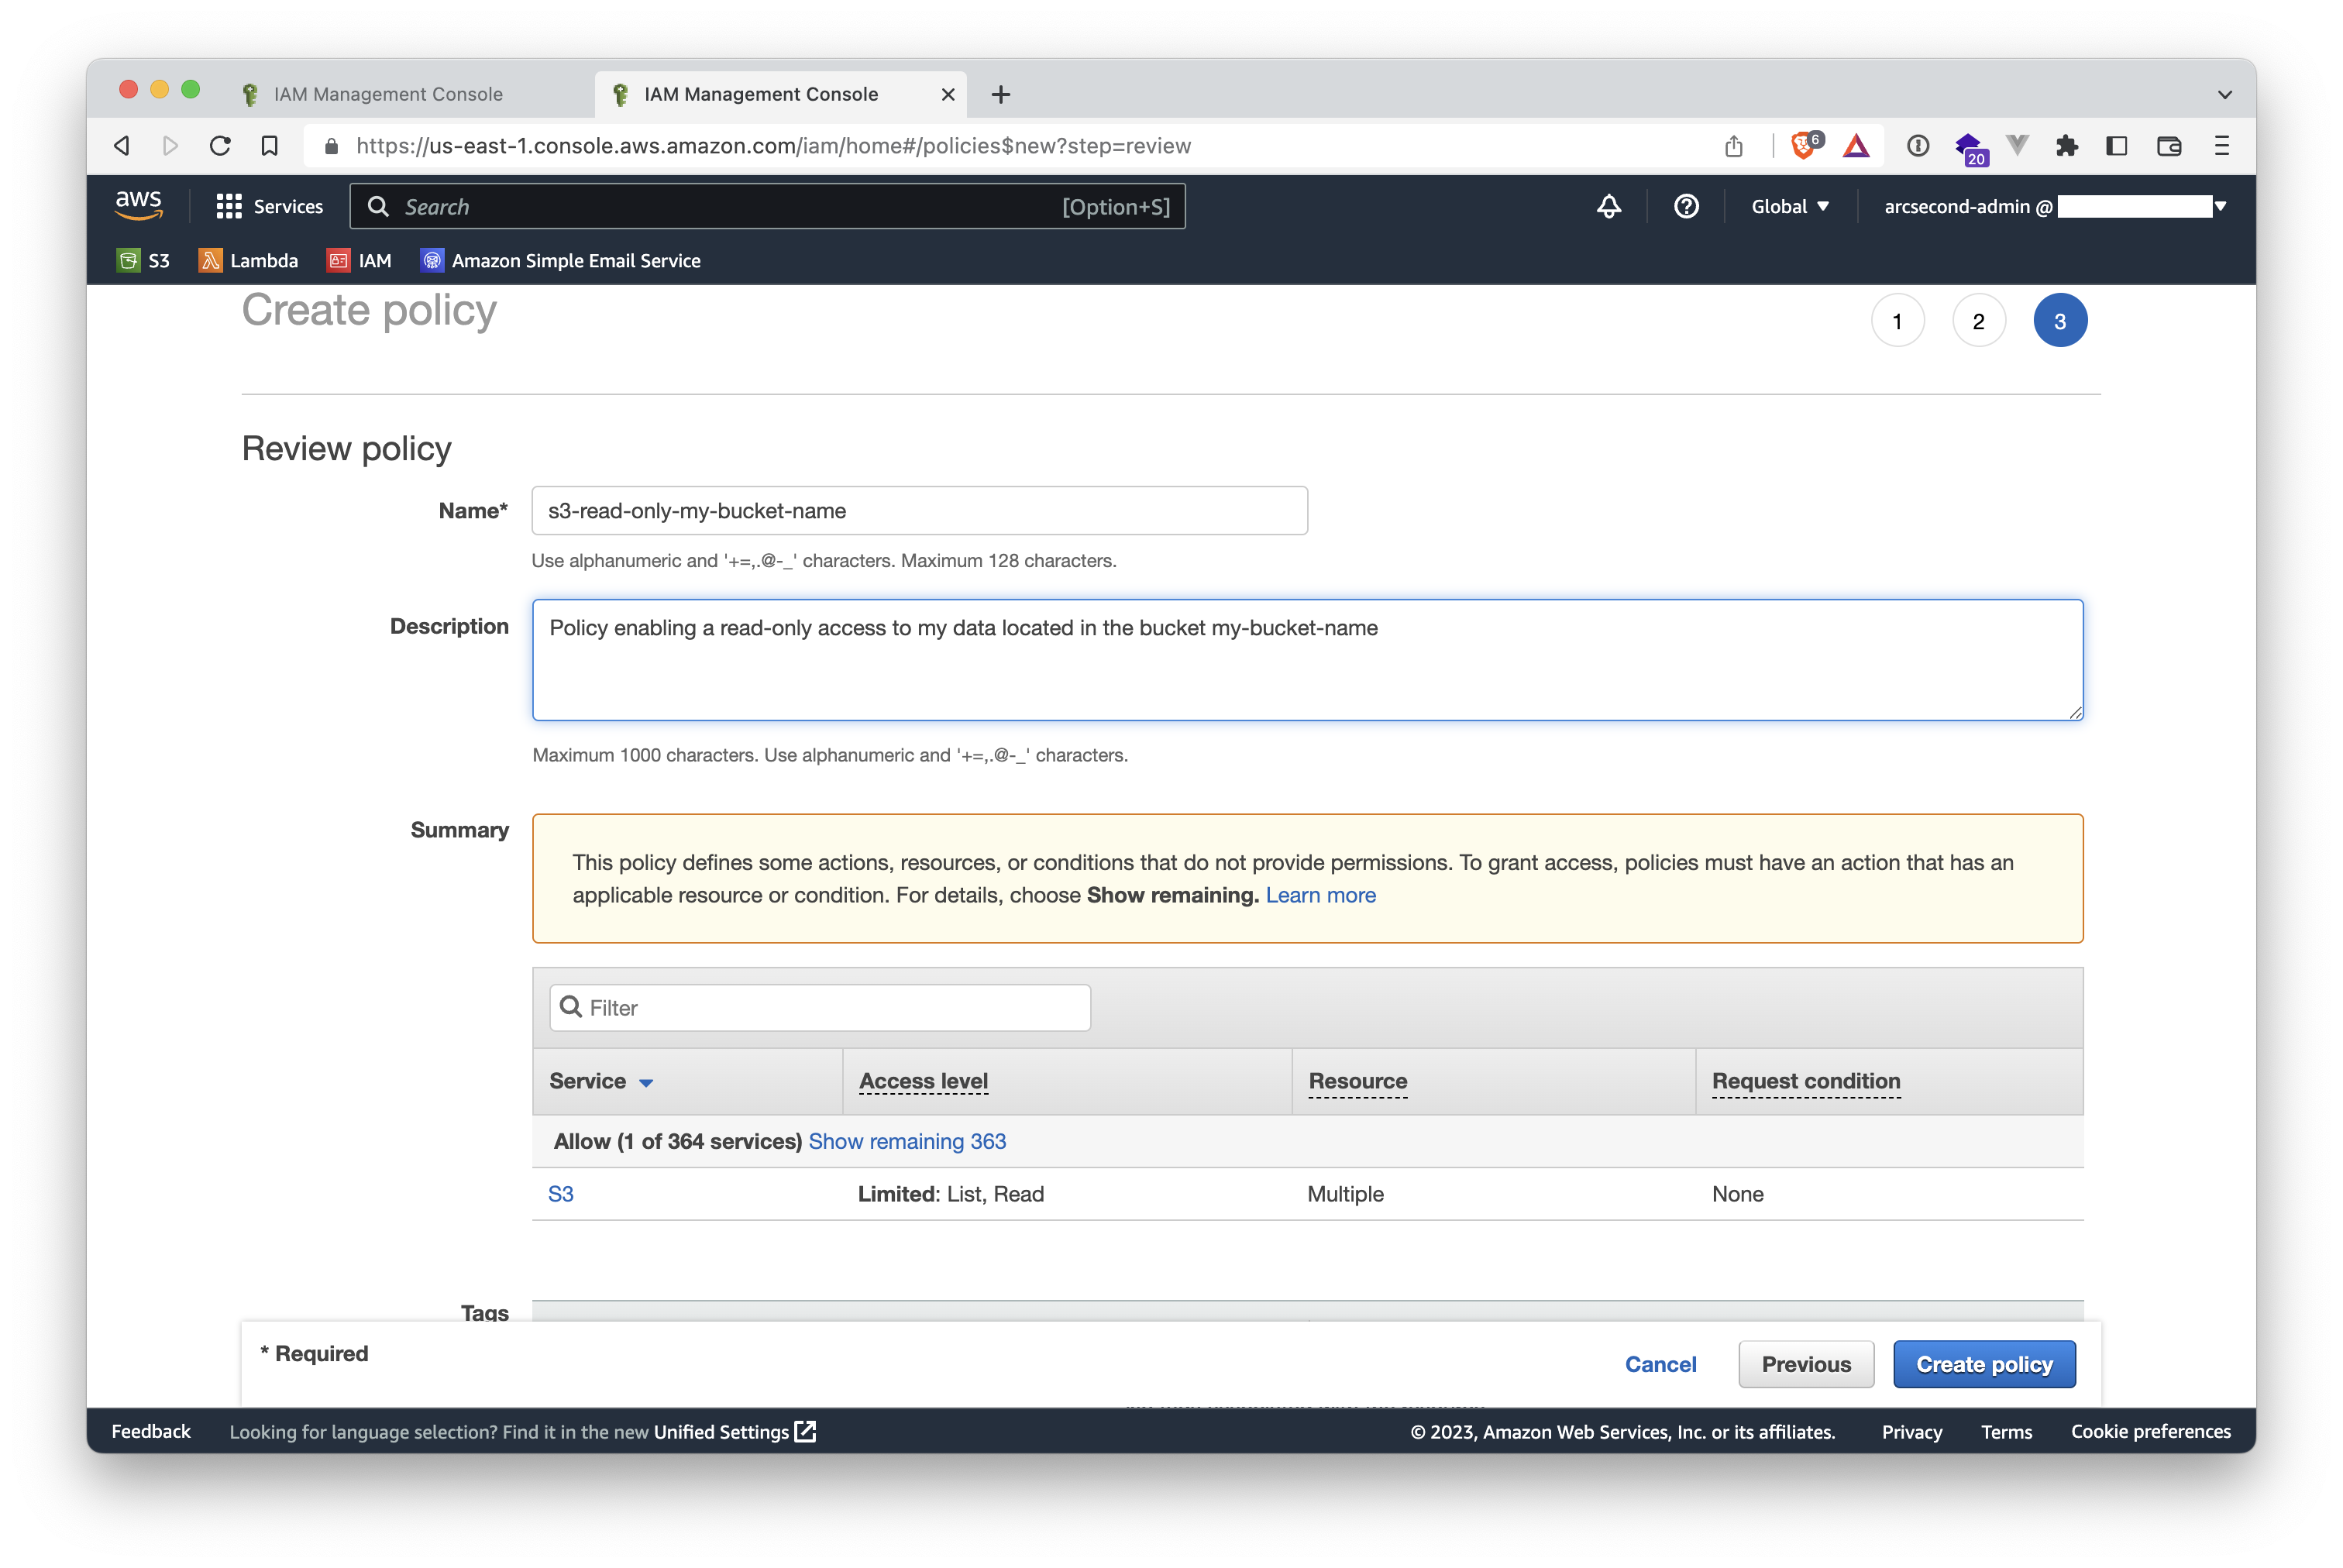
- Add a name and optionally a description to your policy. The click on the "Create Policy" button in the lower-right.
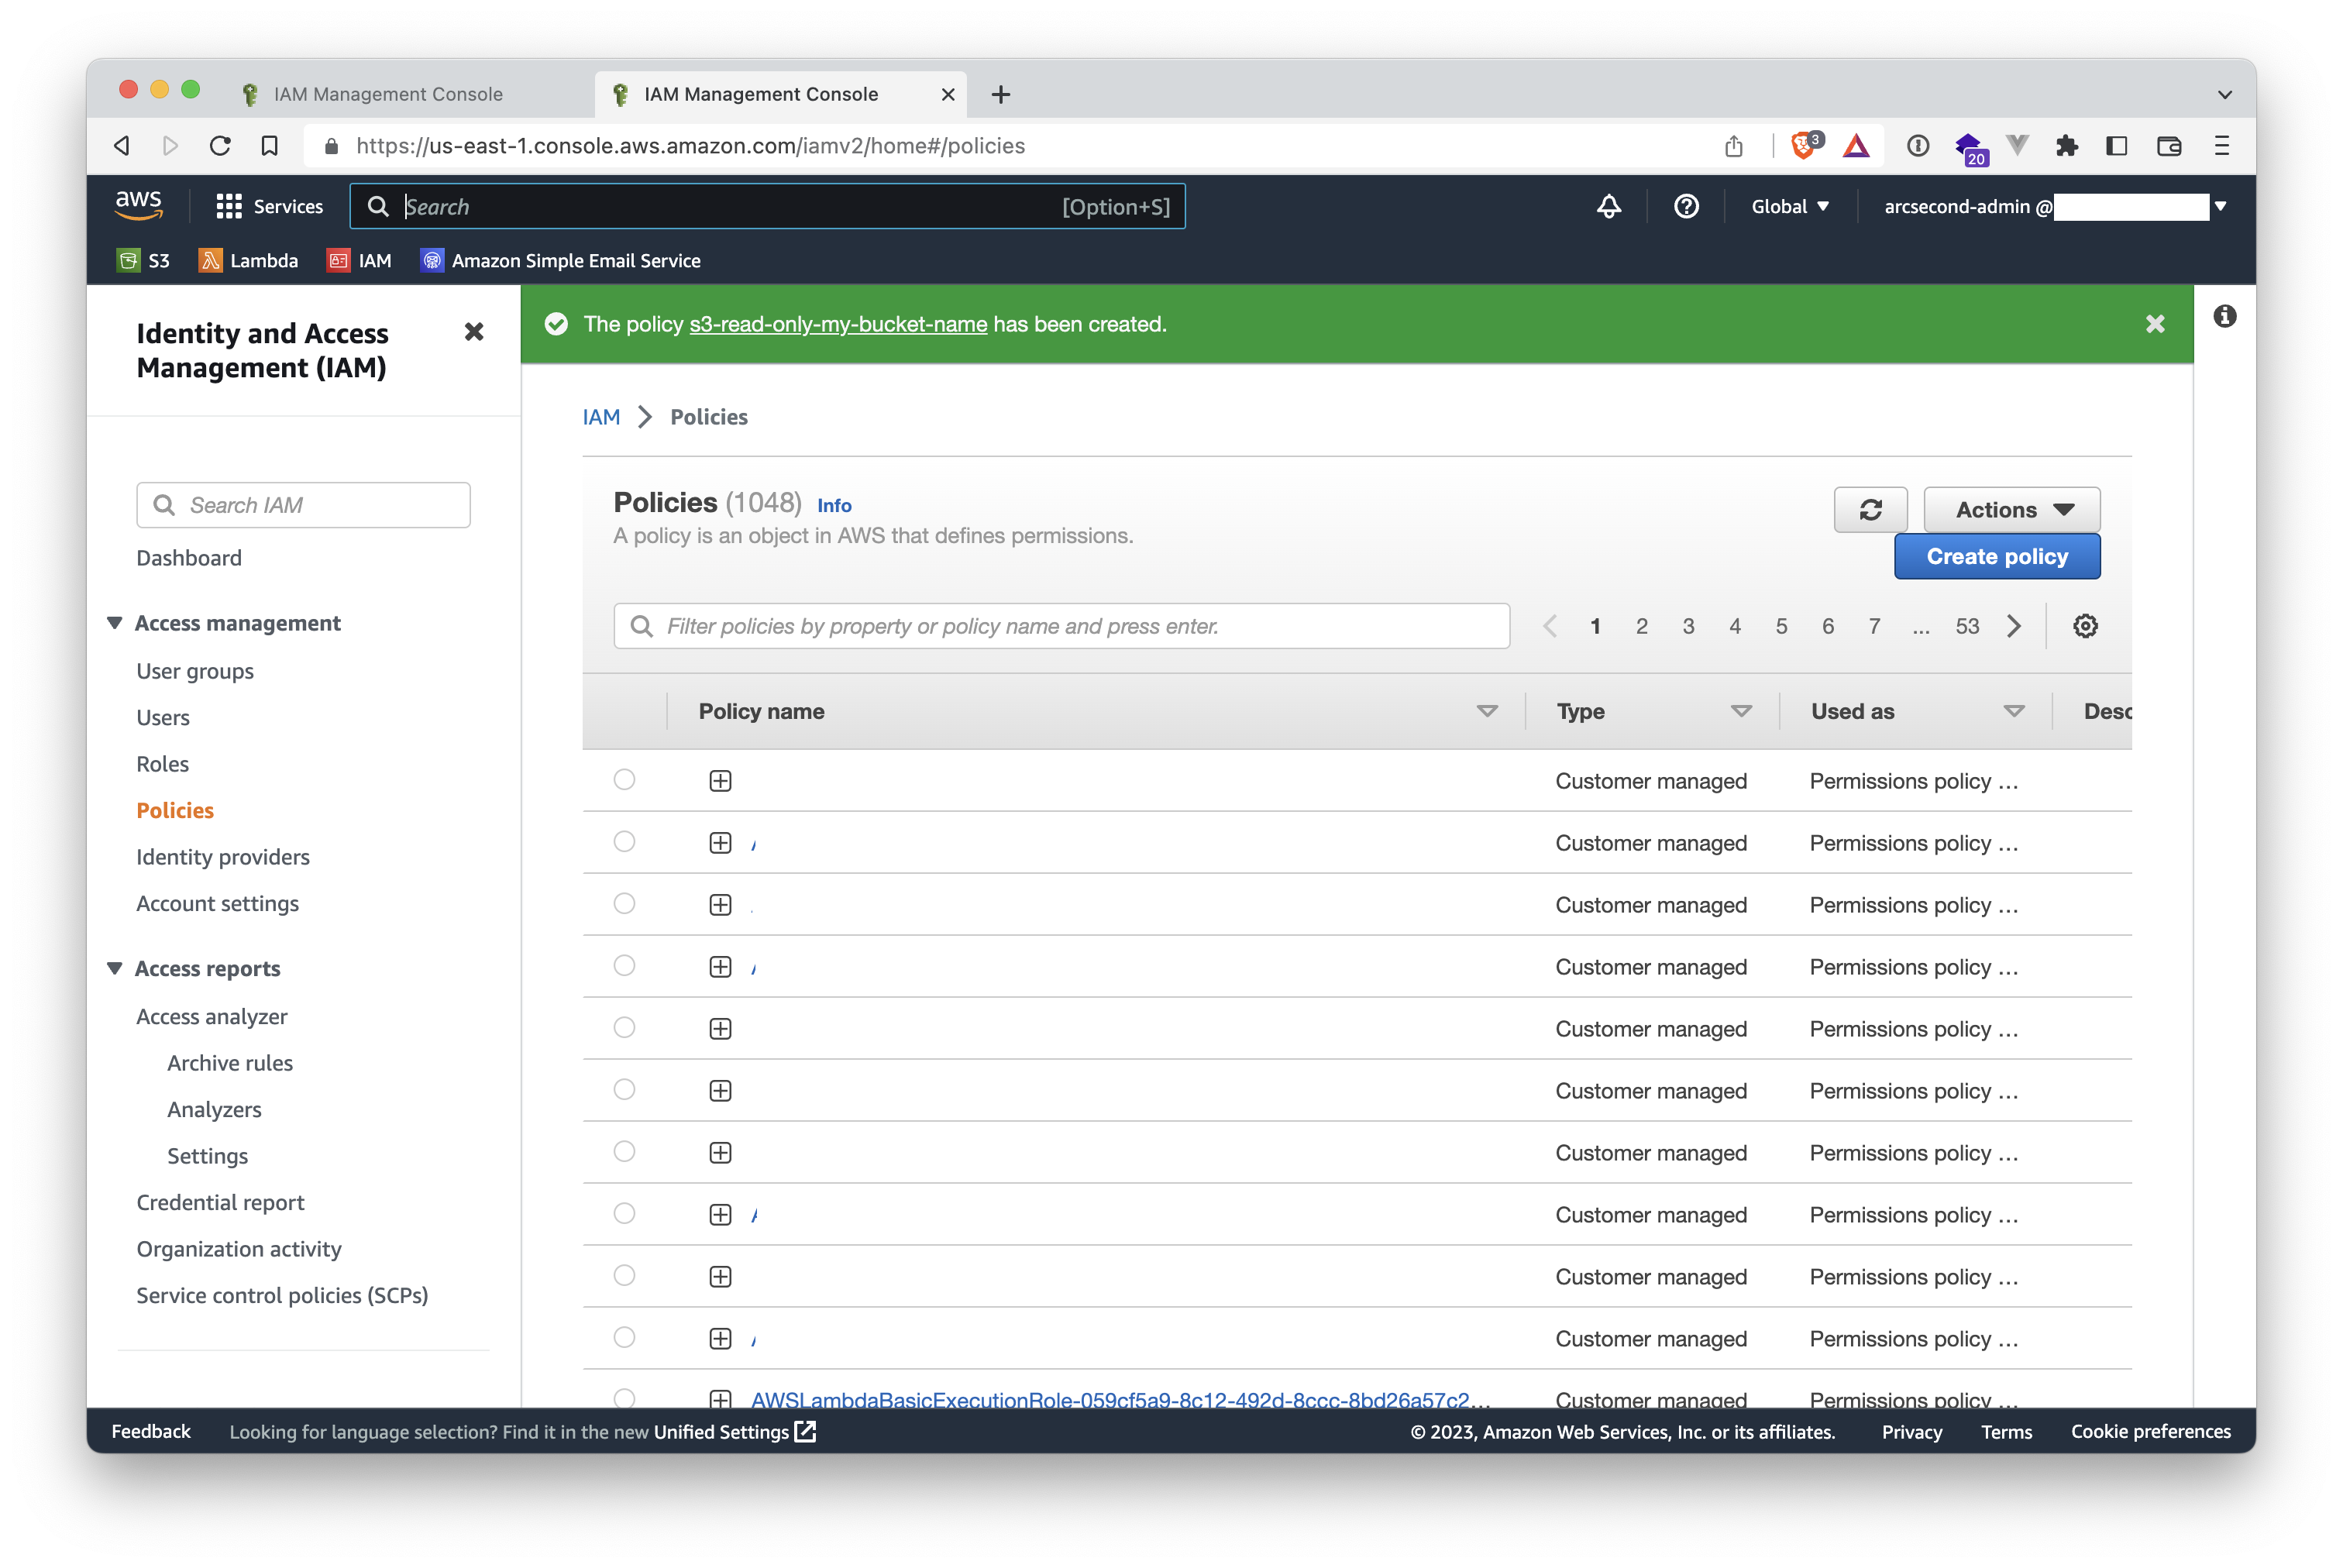
Your policy is now ready to be attached to a user.
Create a new IAM user
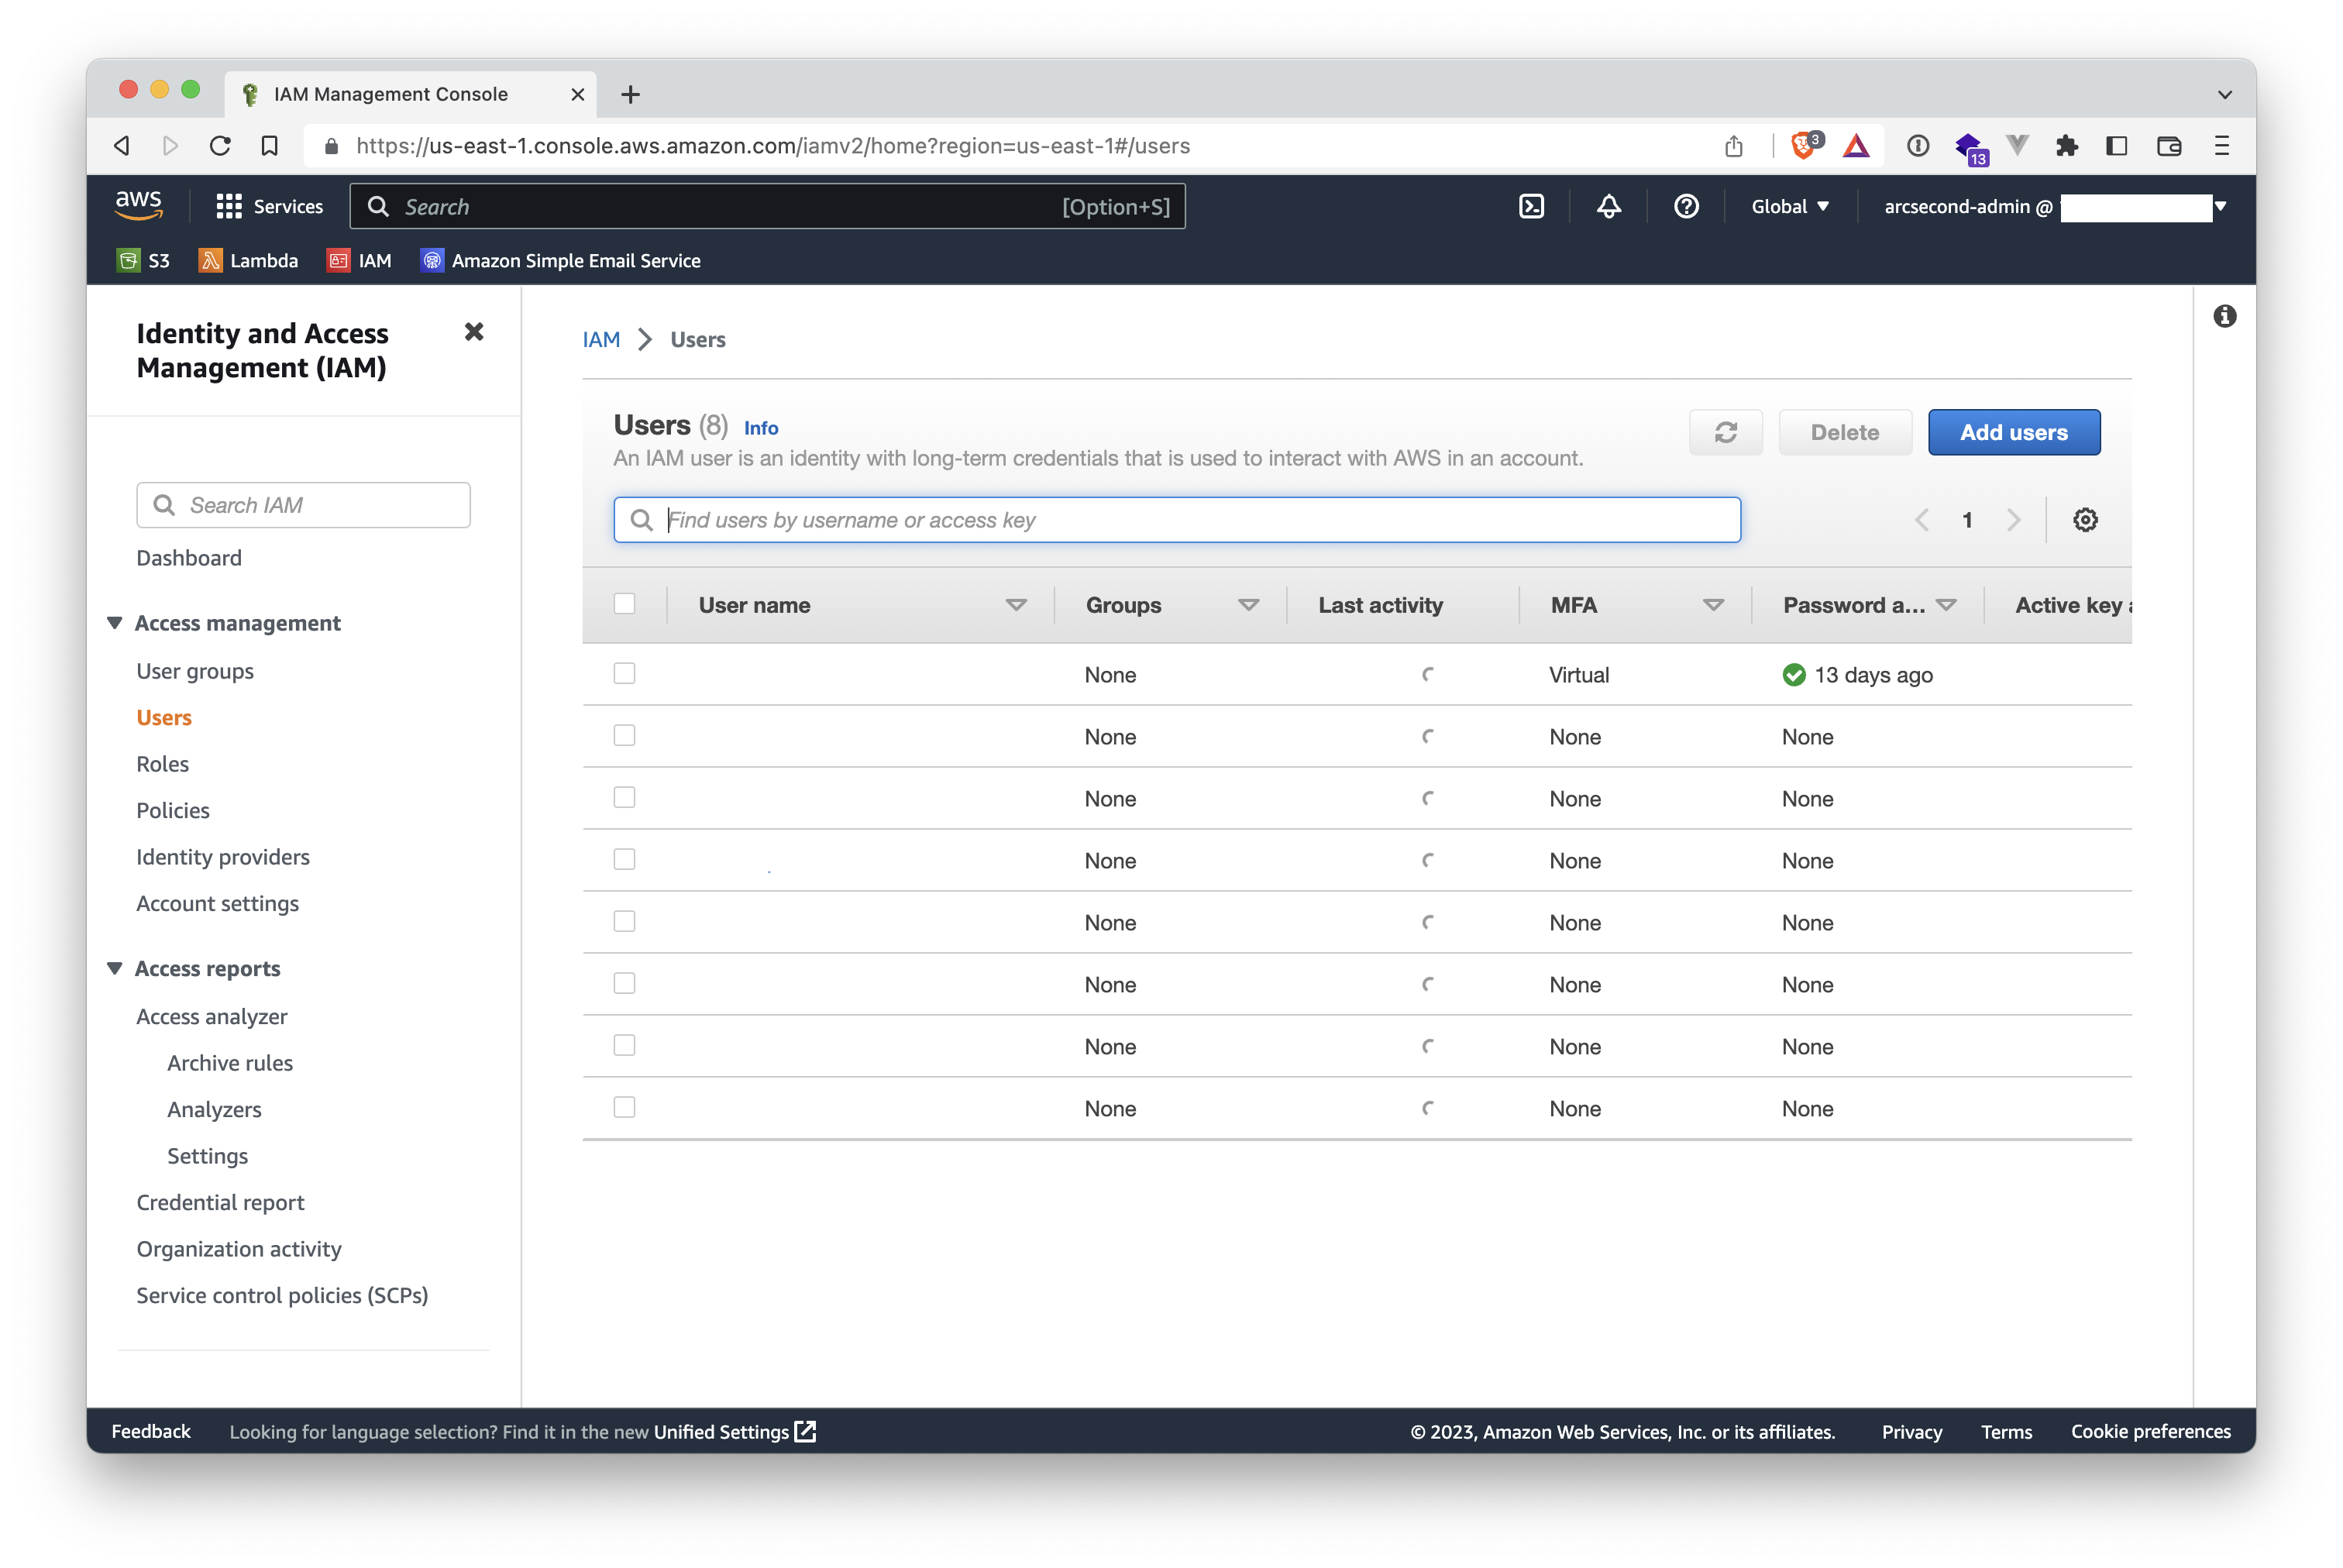
- If not already done, login to your AWS console, and select the IAM service. You will end up in the IAM home page
INFO
Arcsecond-specific information has been removed throughout the tutorial images.
WARNING
AWS recommends to use an IAM role instead of a user to give access to third-party services like Arcsecond. However, the Arcsecond storage backend works only with AWS_ACCESS_KEY_ID and AWS_SECRET_ACCESS_KEY. Hence, the need to stick to the current procedure.
- Open the
Userspage by clicking the link on the left-hand sidebar.
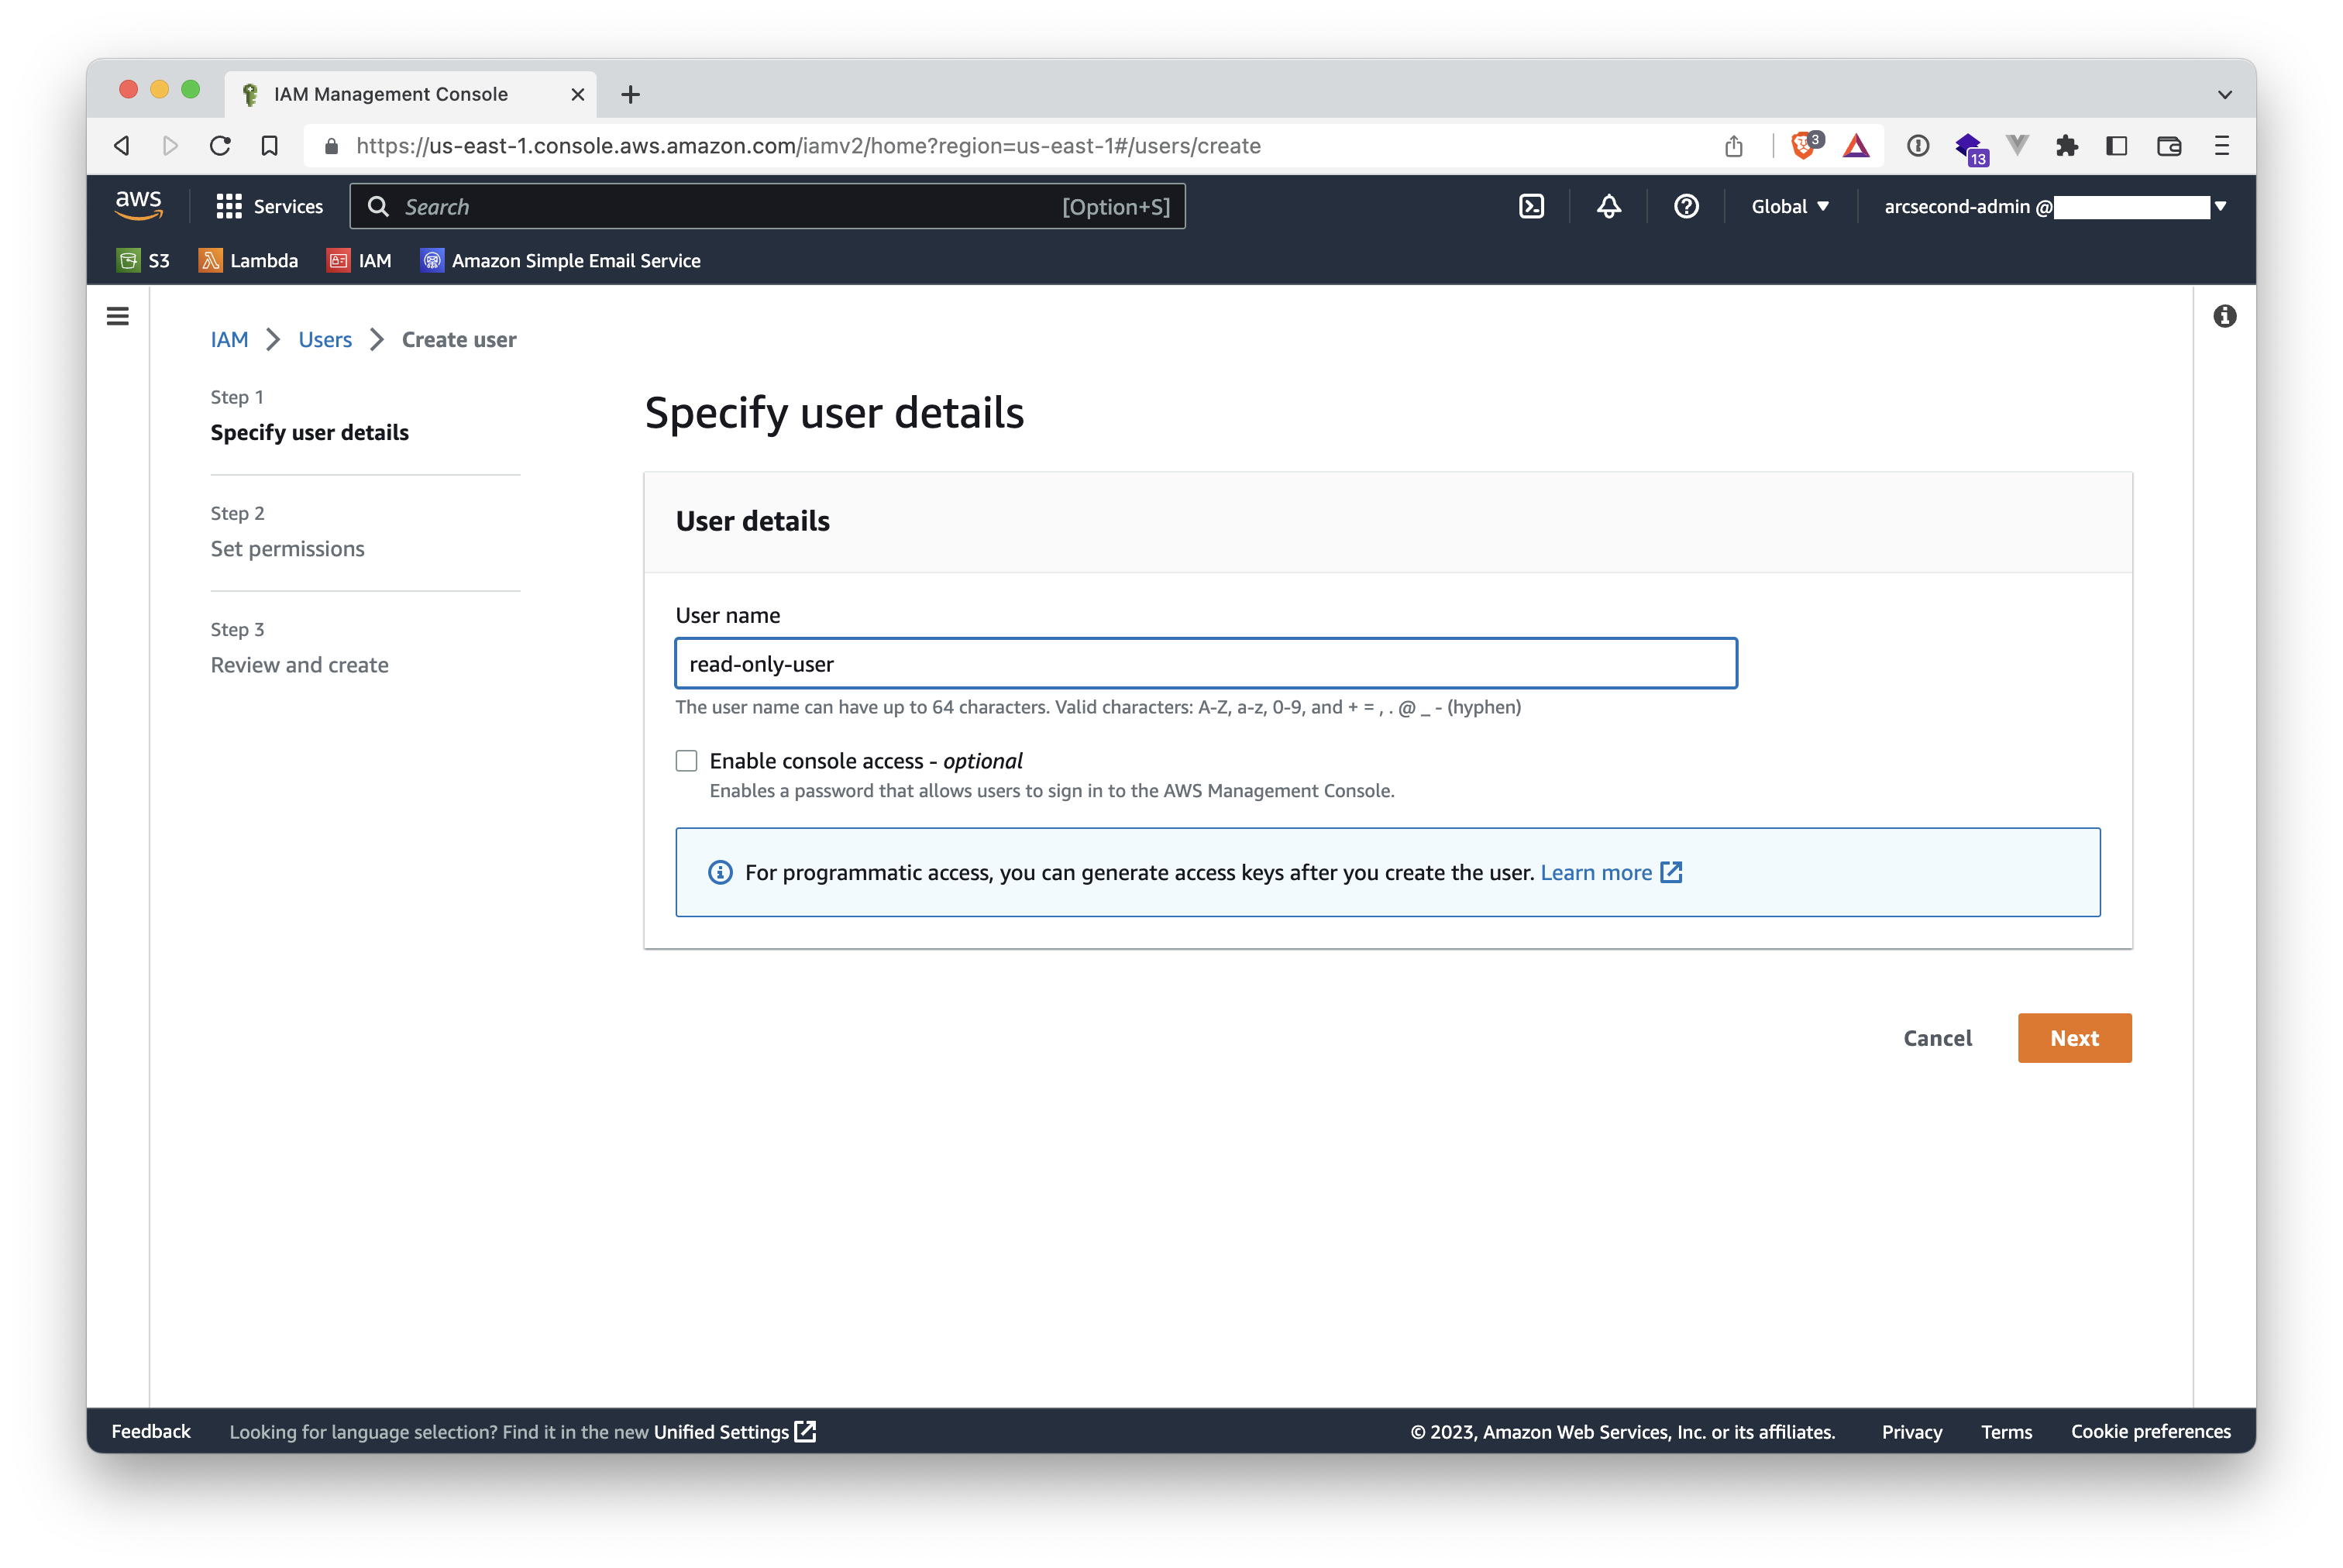
- Click the "Add users" button on the upper-right to start the short workflow of creating a new users. And give a name to your new user. We recommend to not enable the console access. It is not needed by Arcsecond.
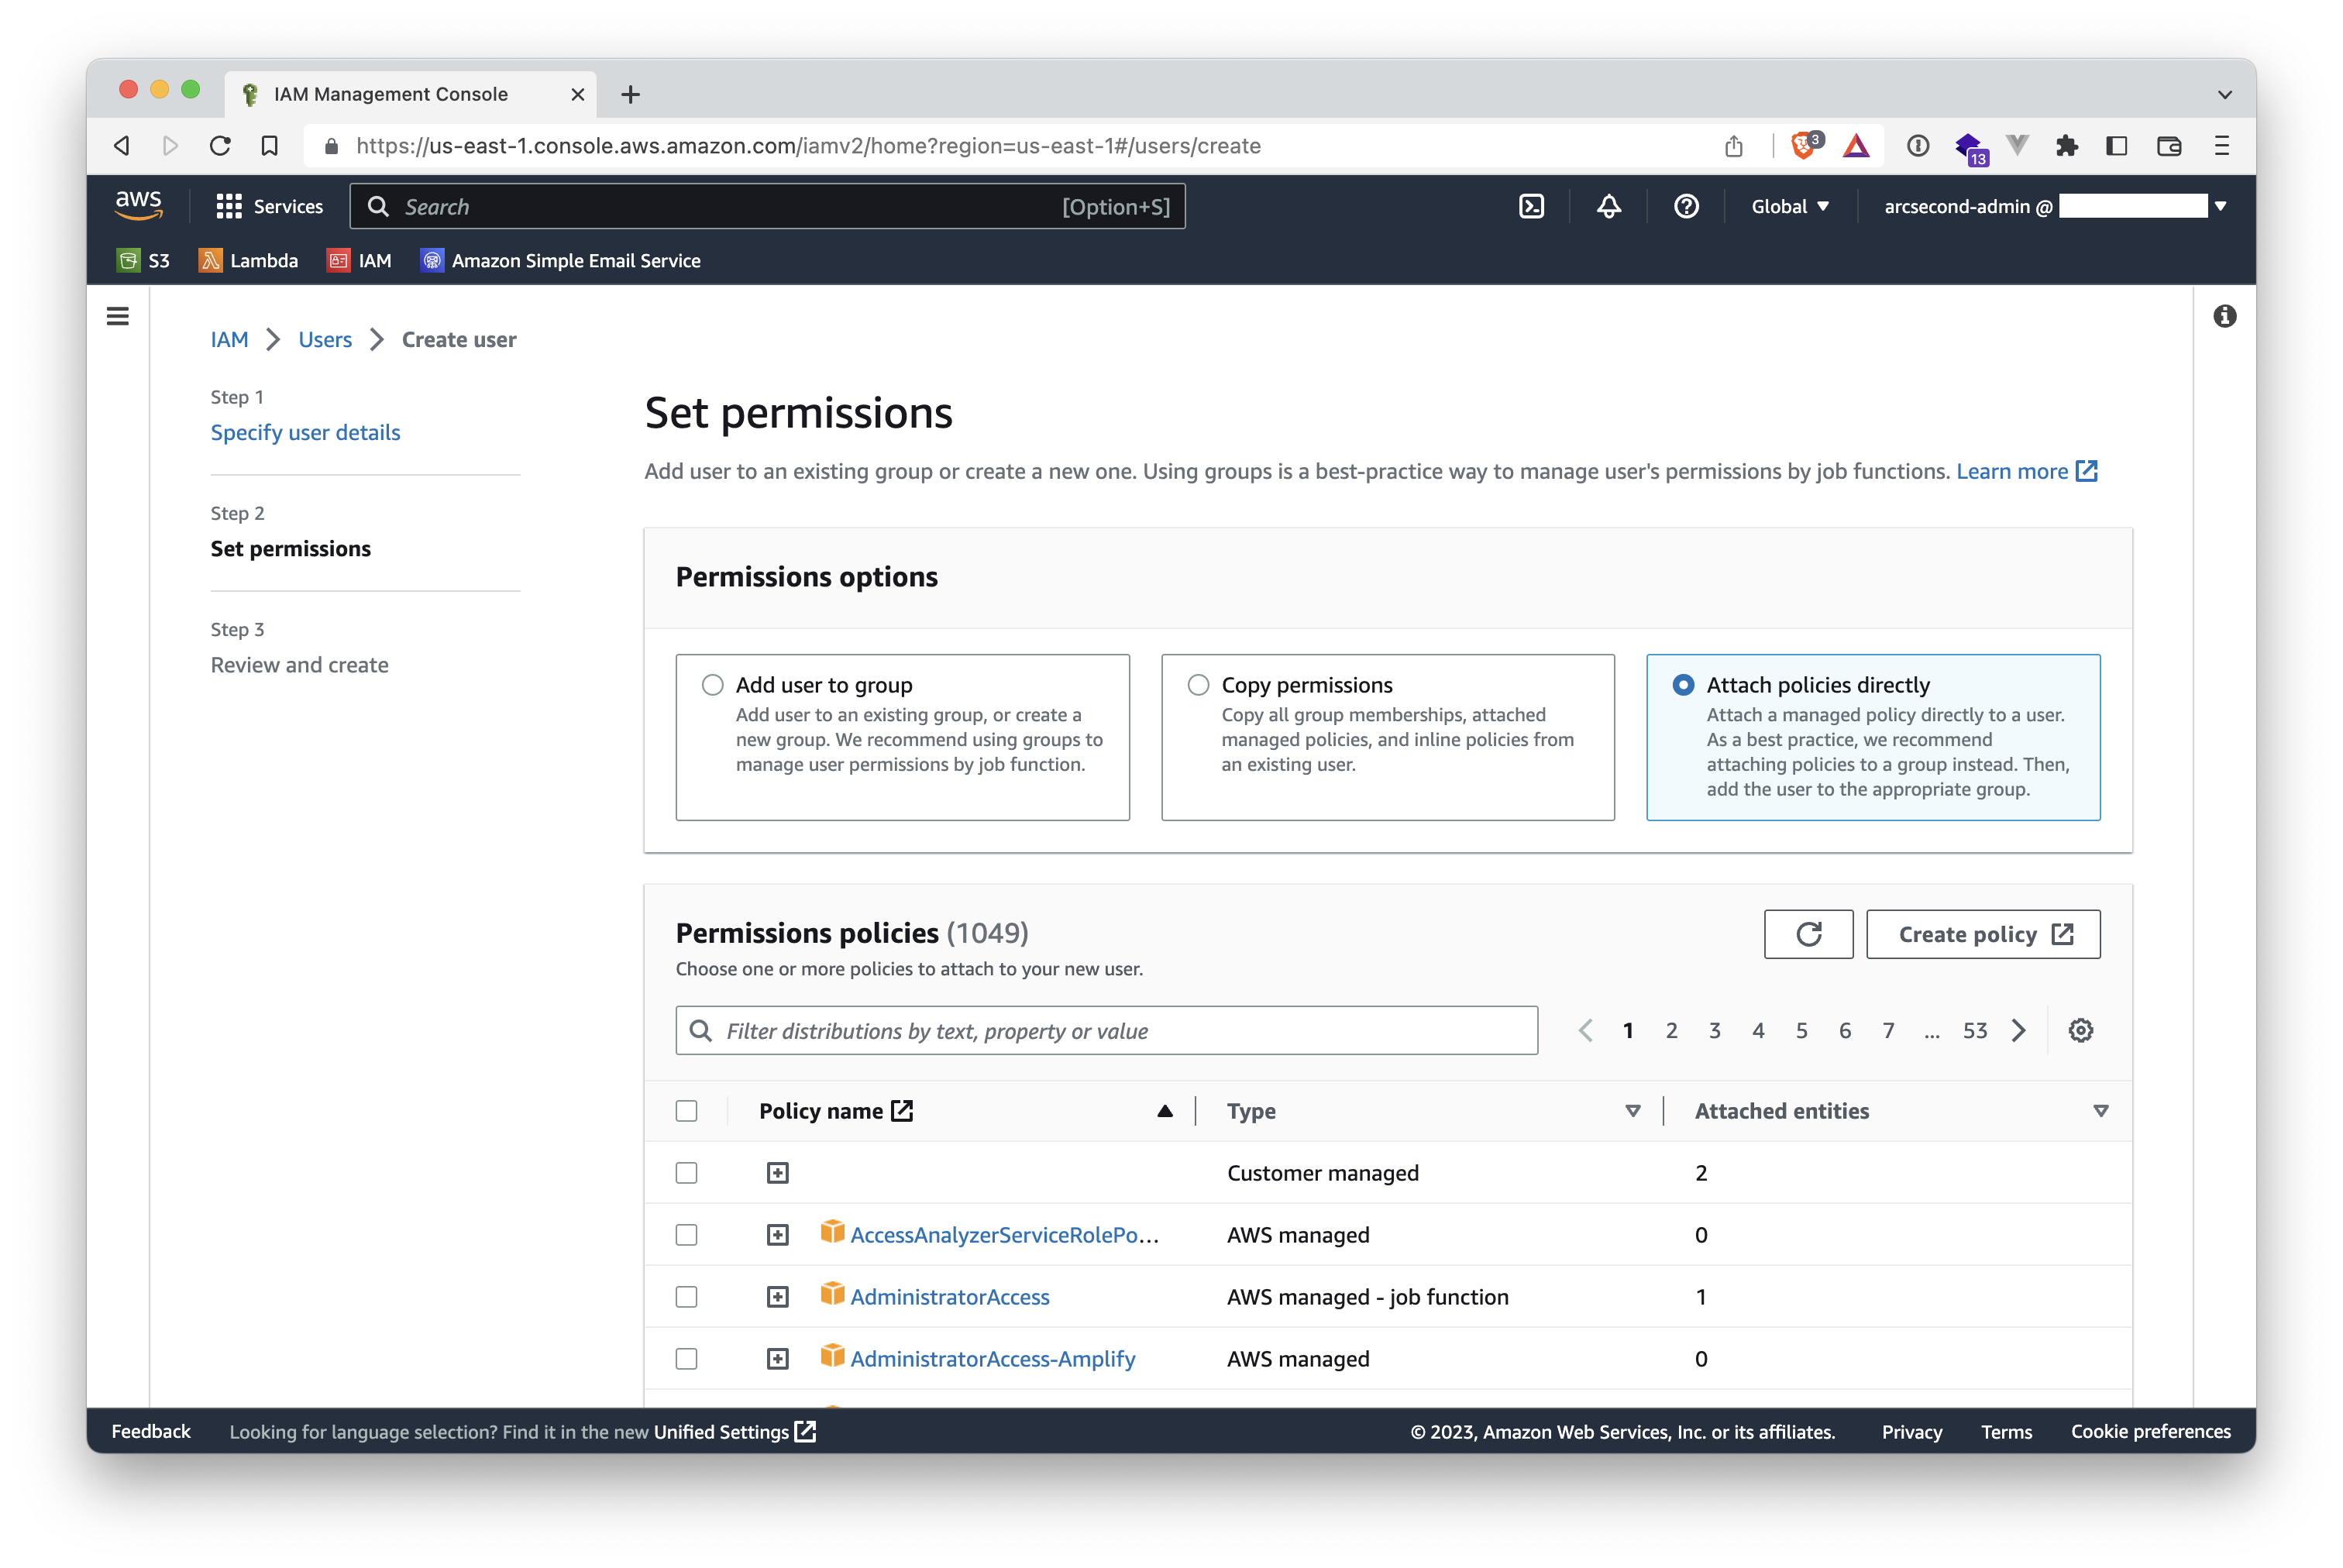
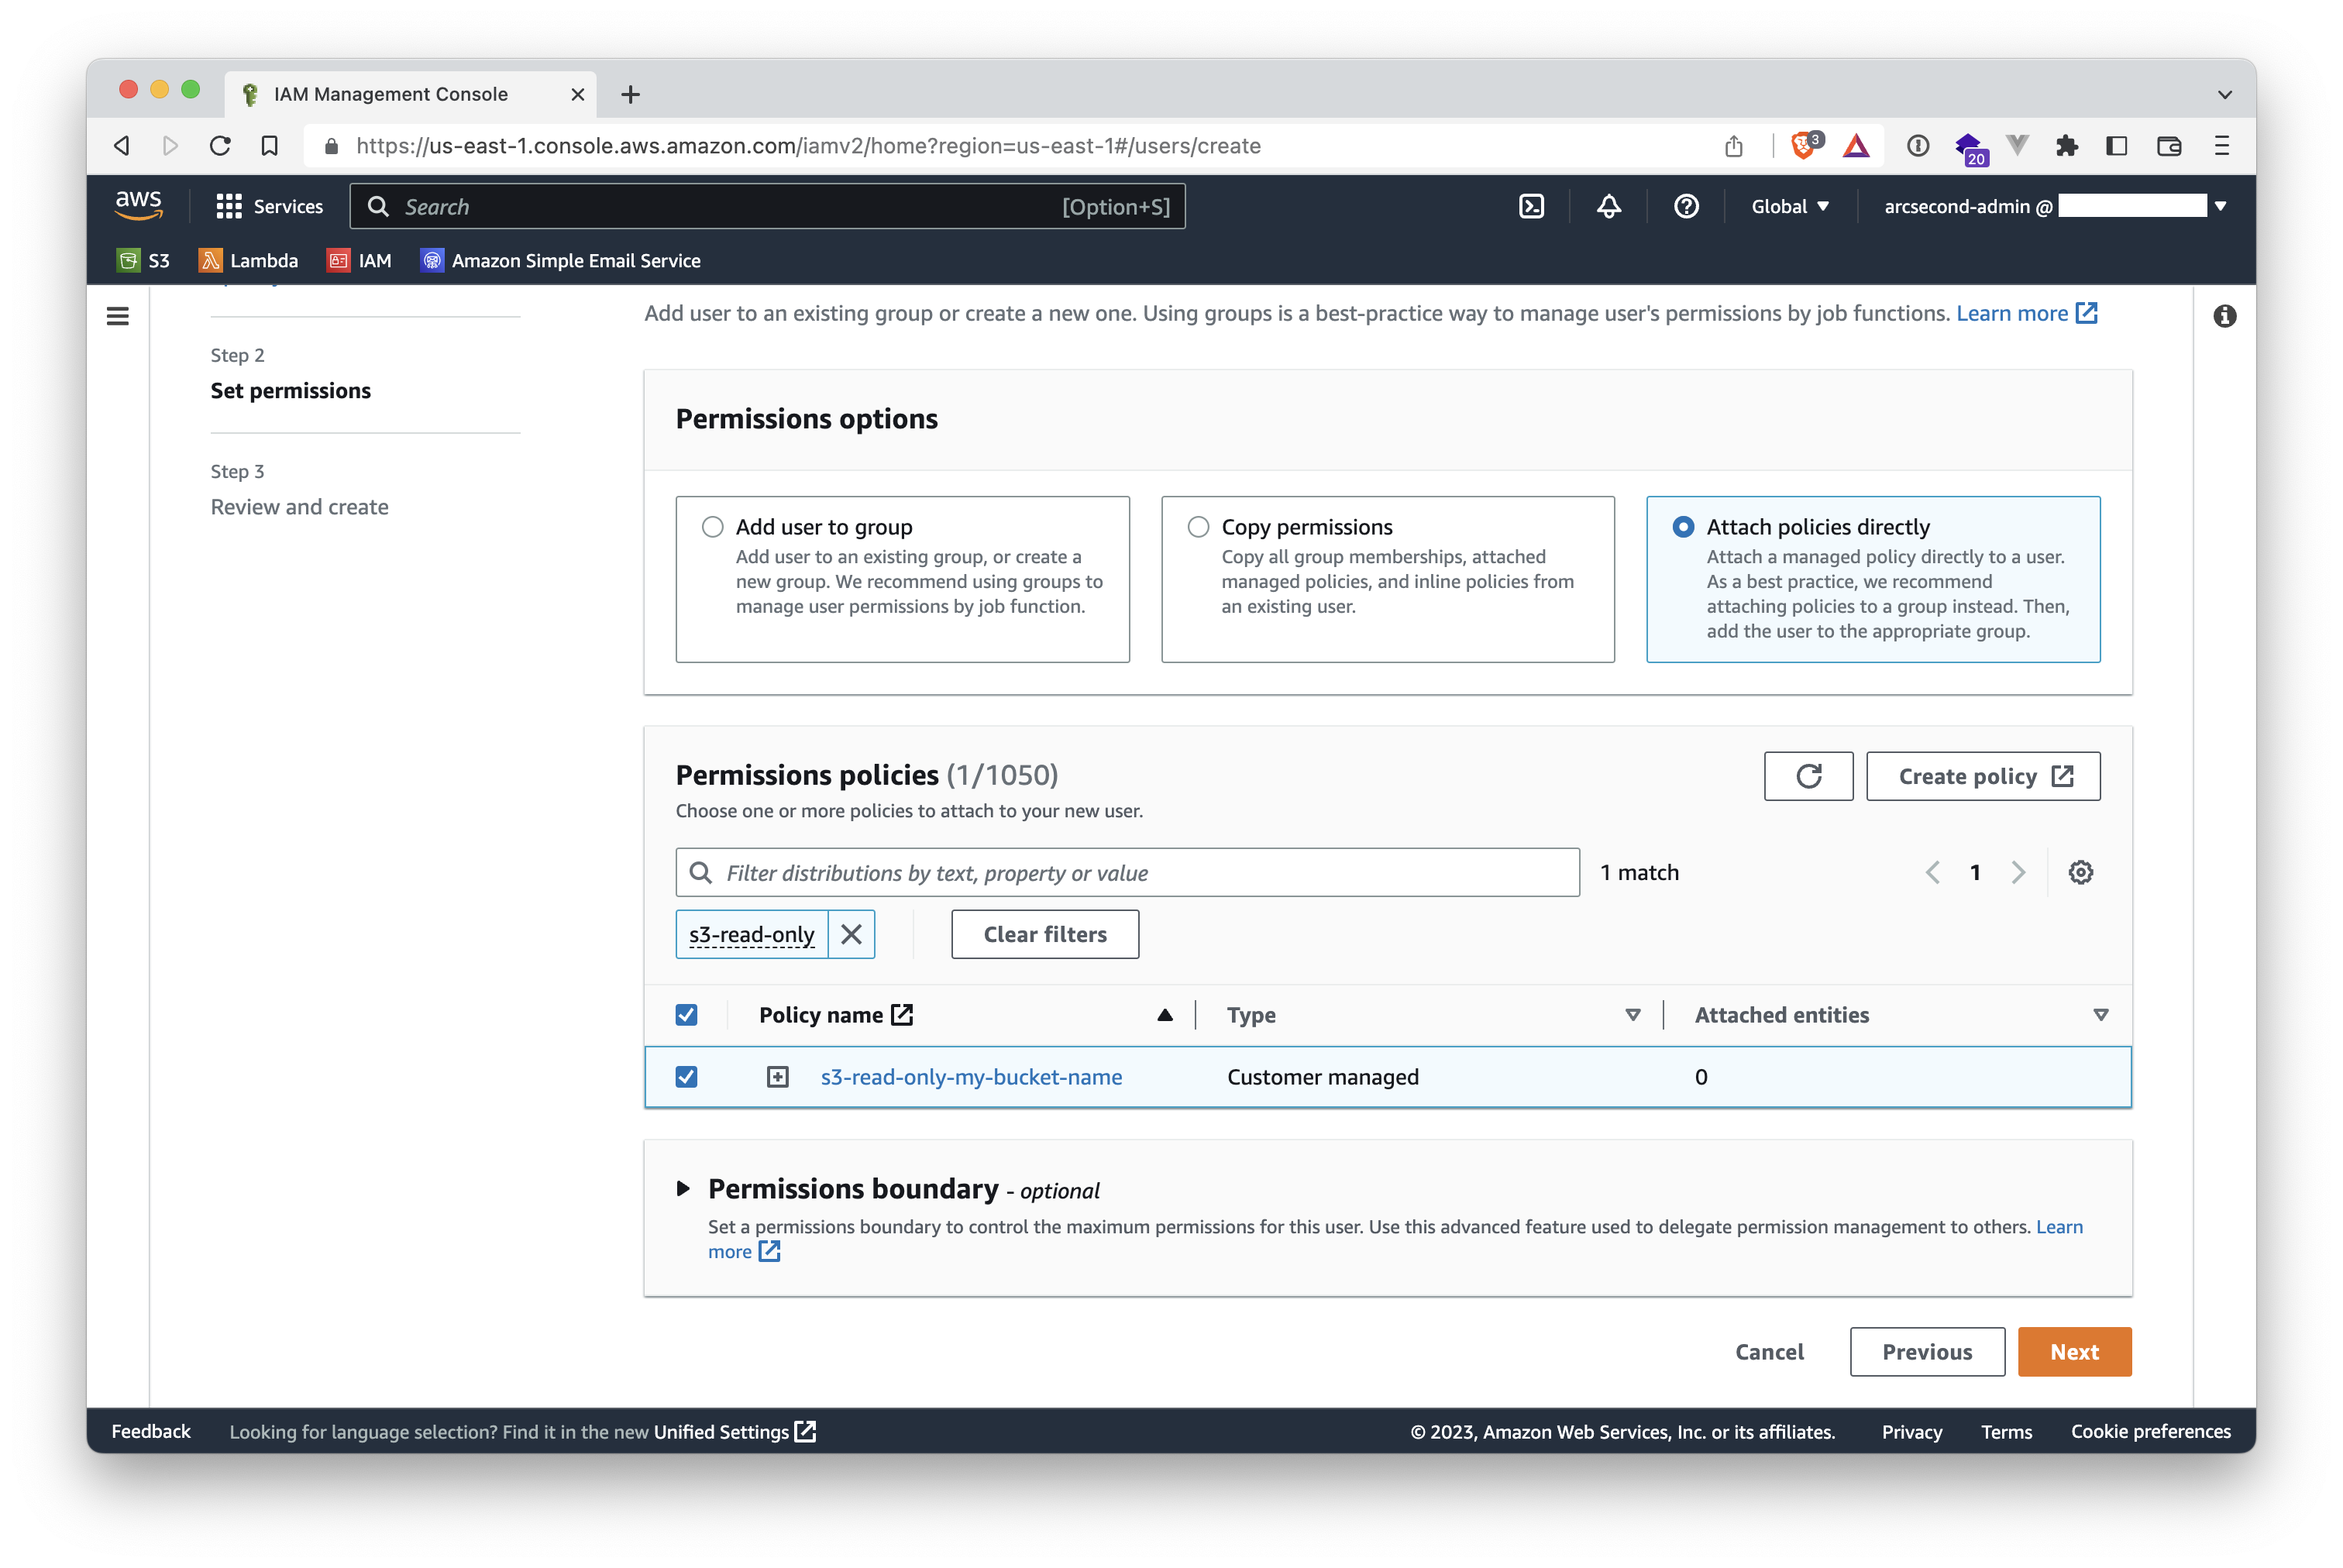
- When asked to attach permissions to the user, click the "Attach policies directly" button.
- Search for the policy you created above, and select it.
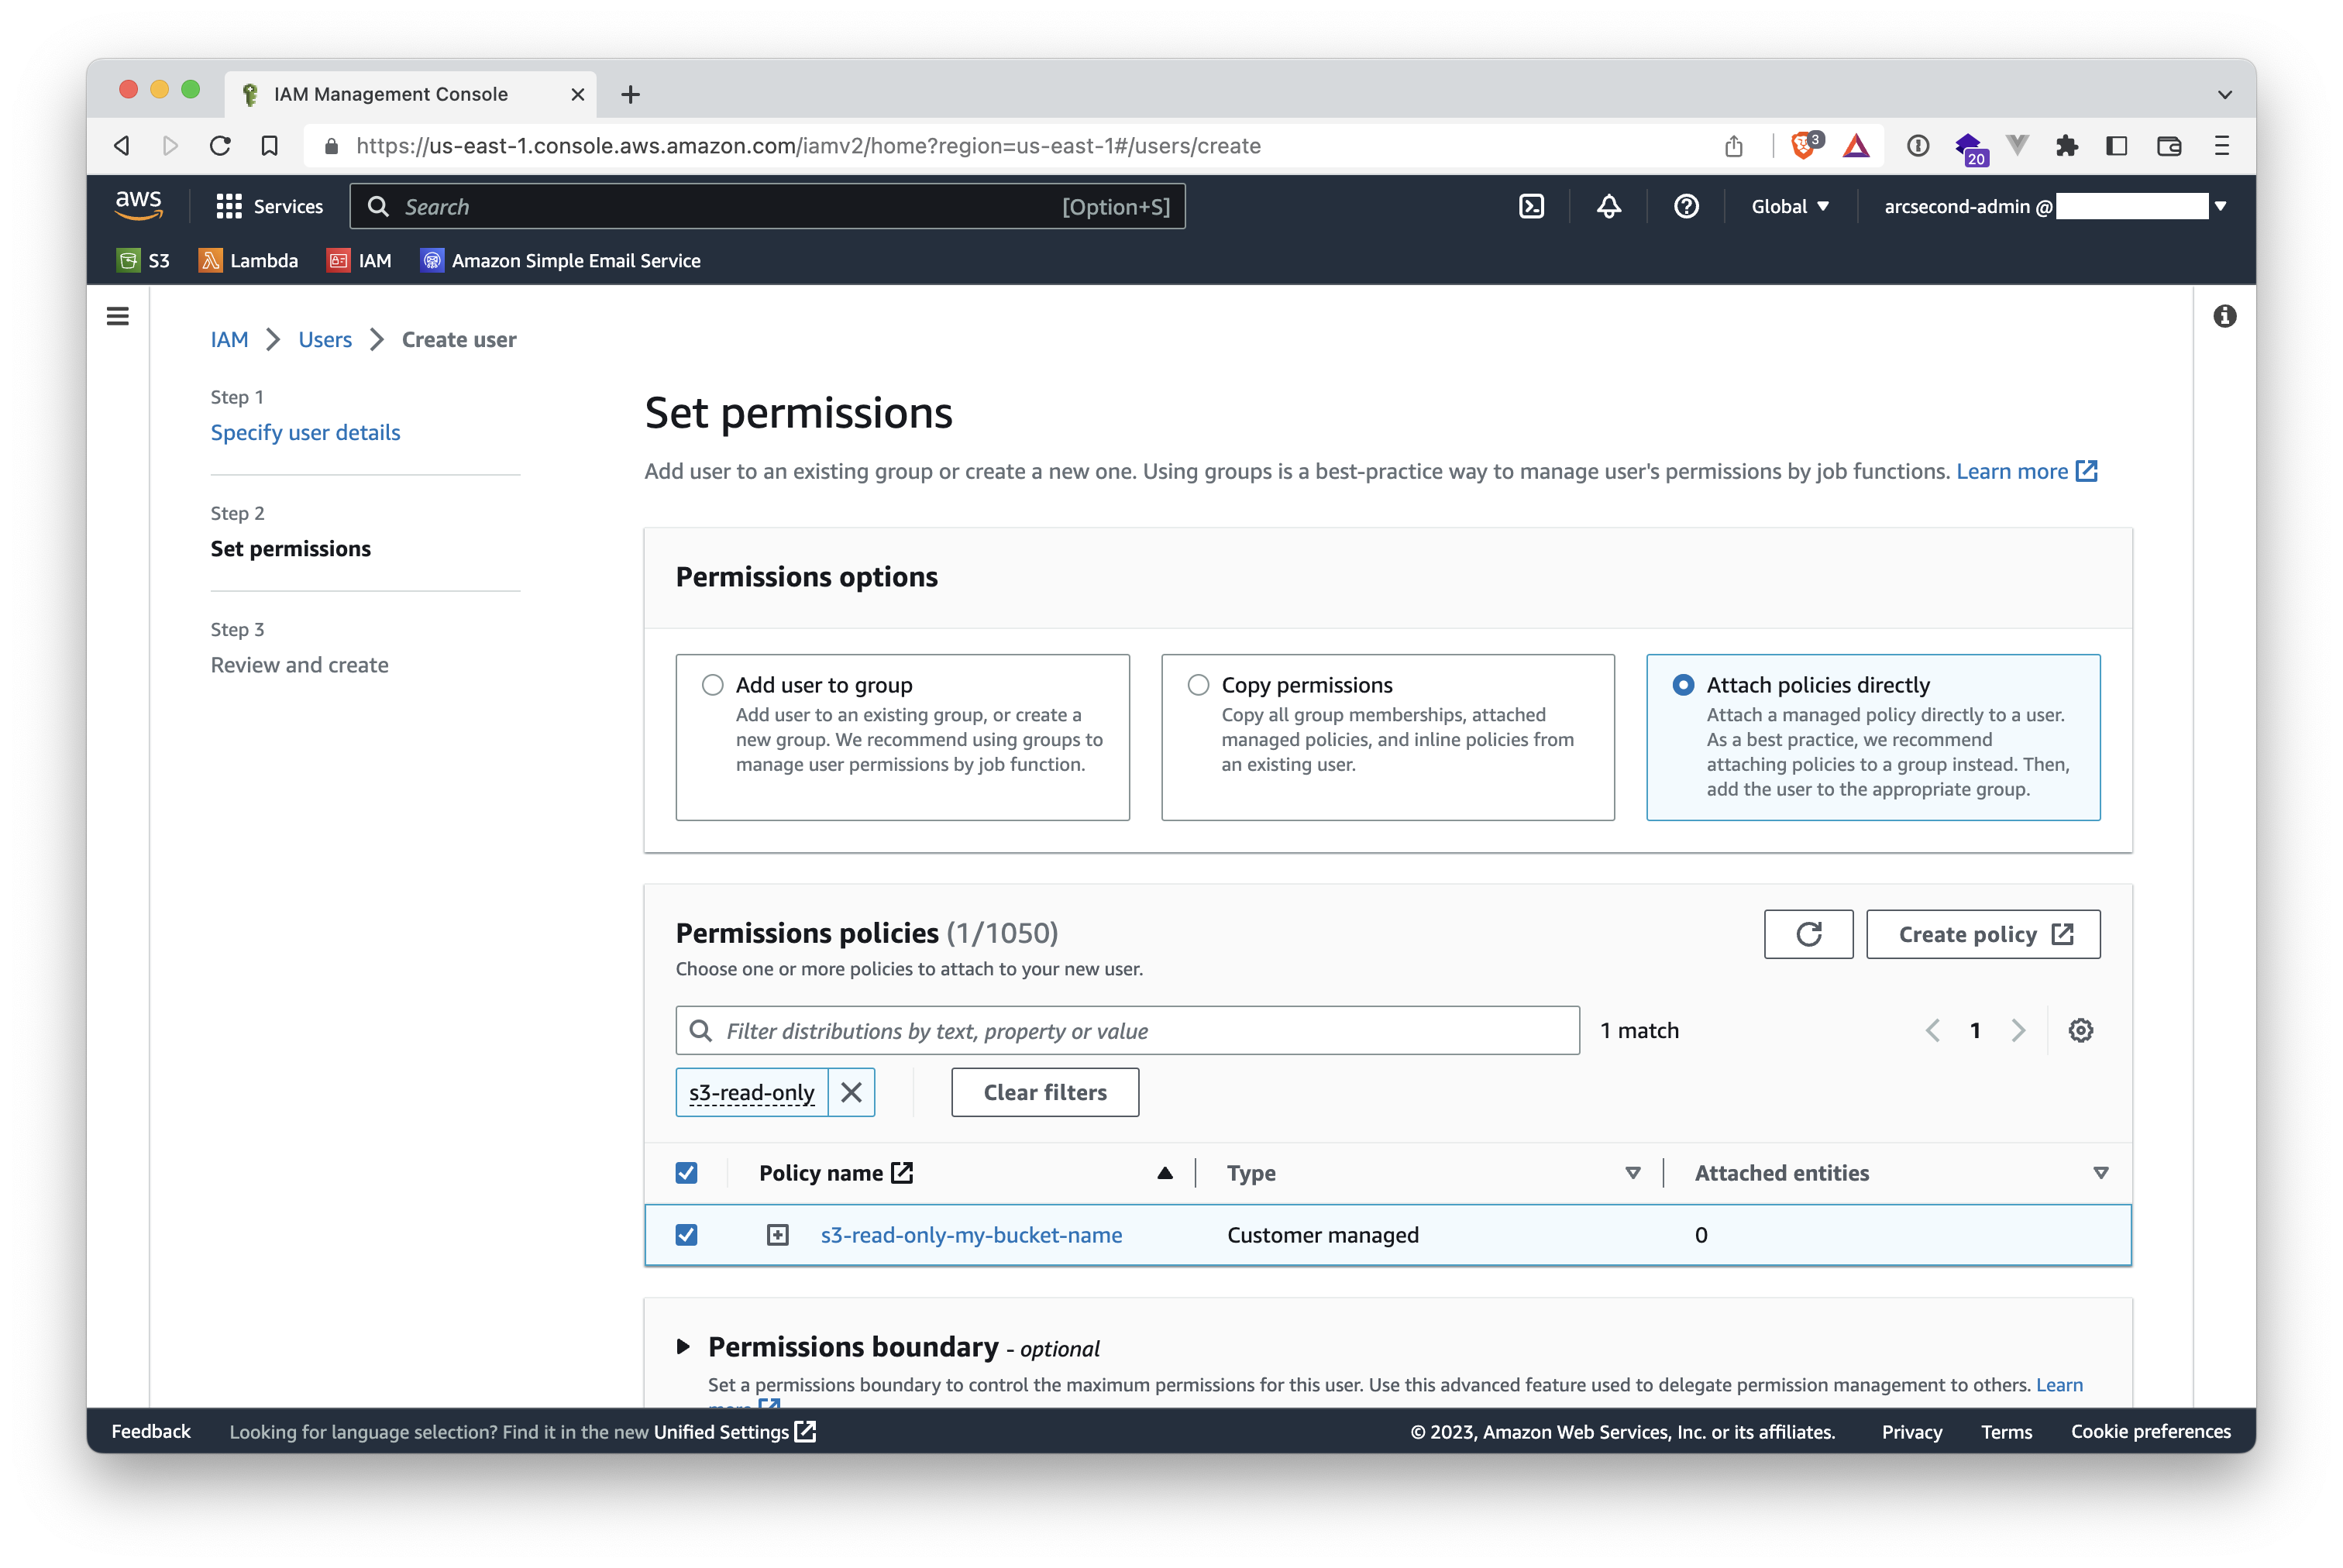
- Scroll down and click the "Next" button on the lower-right.
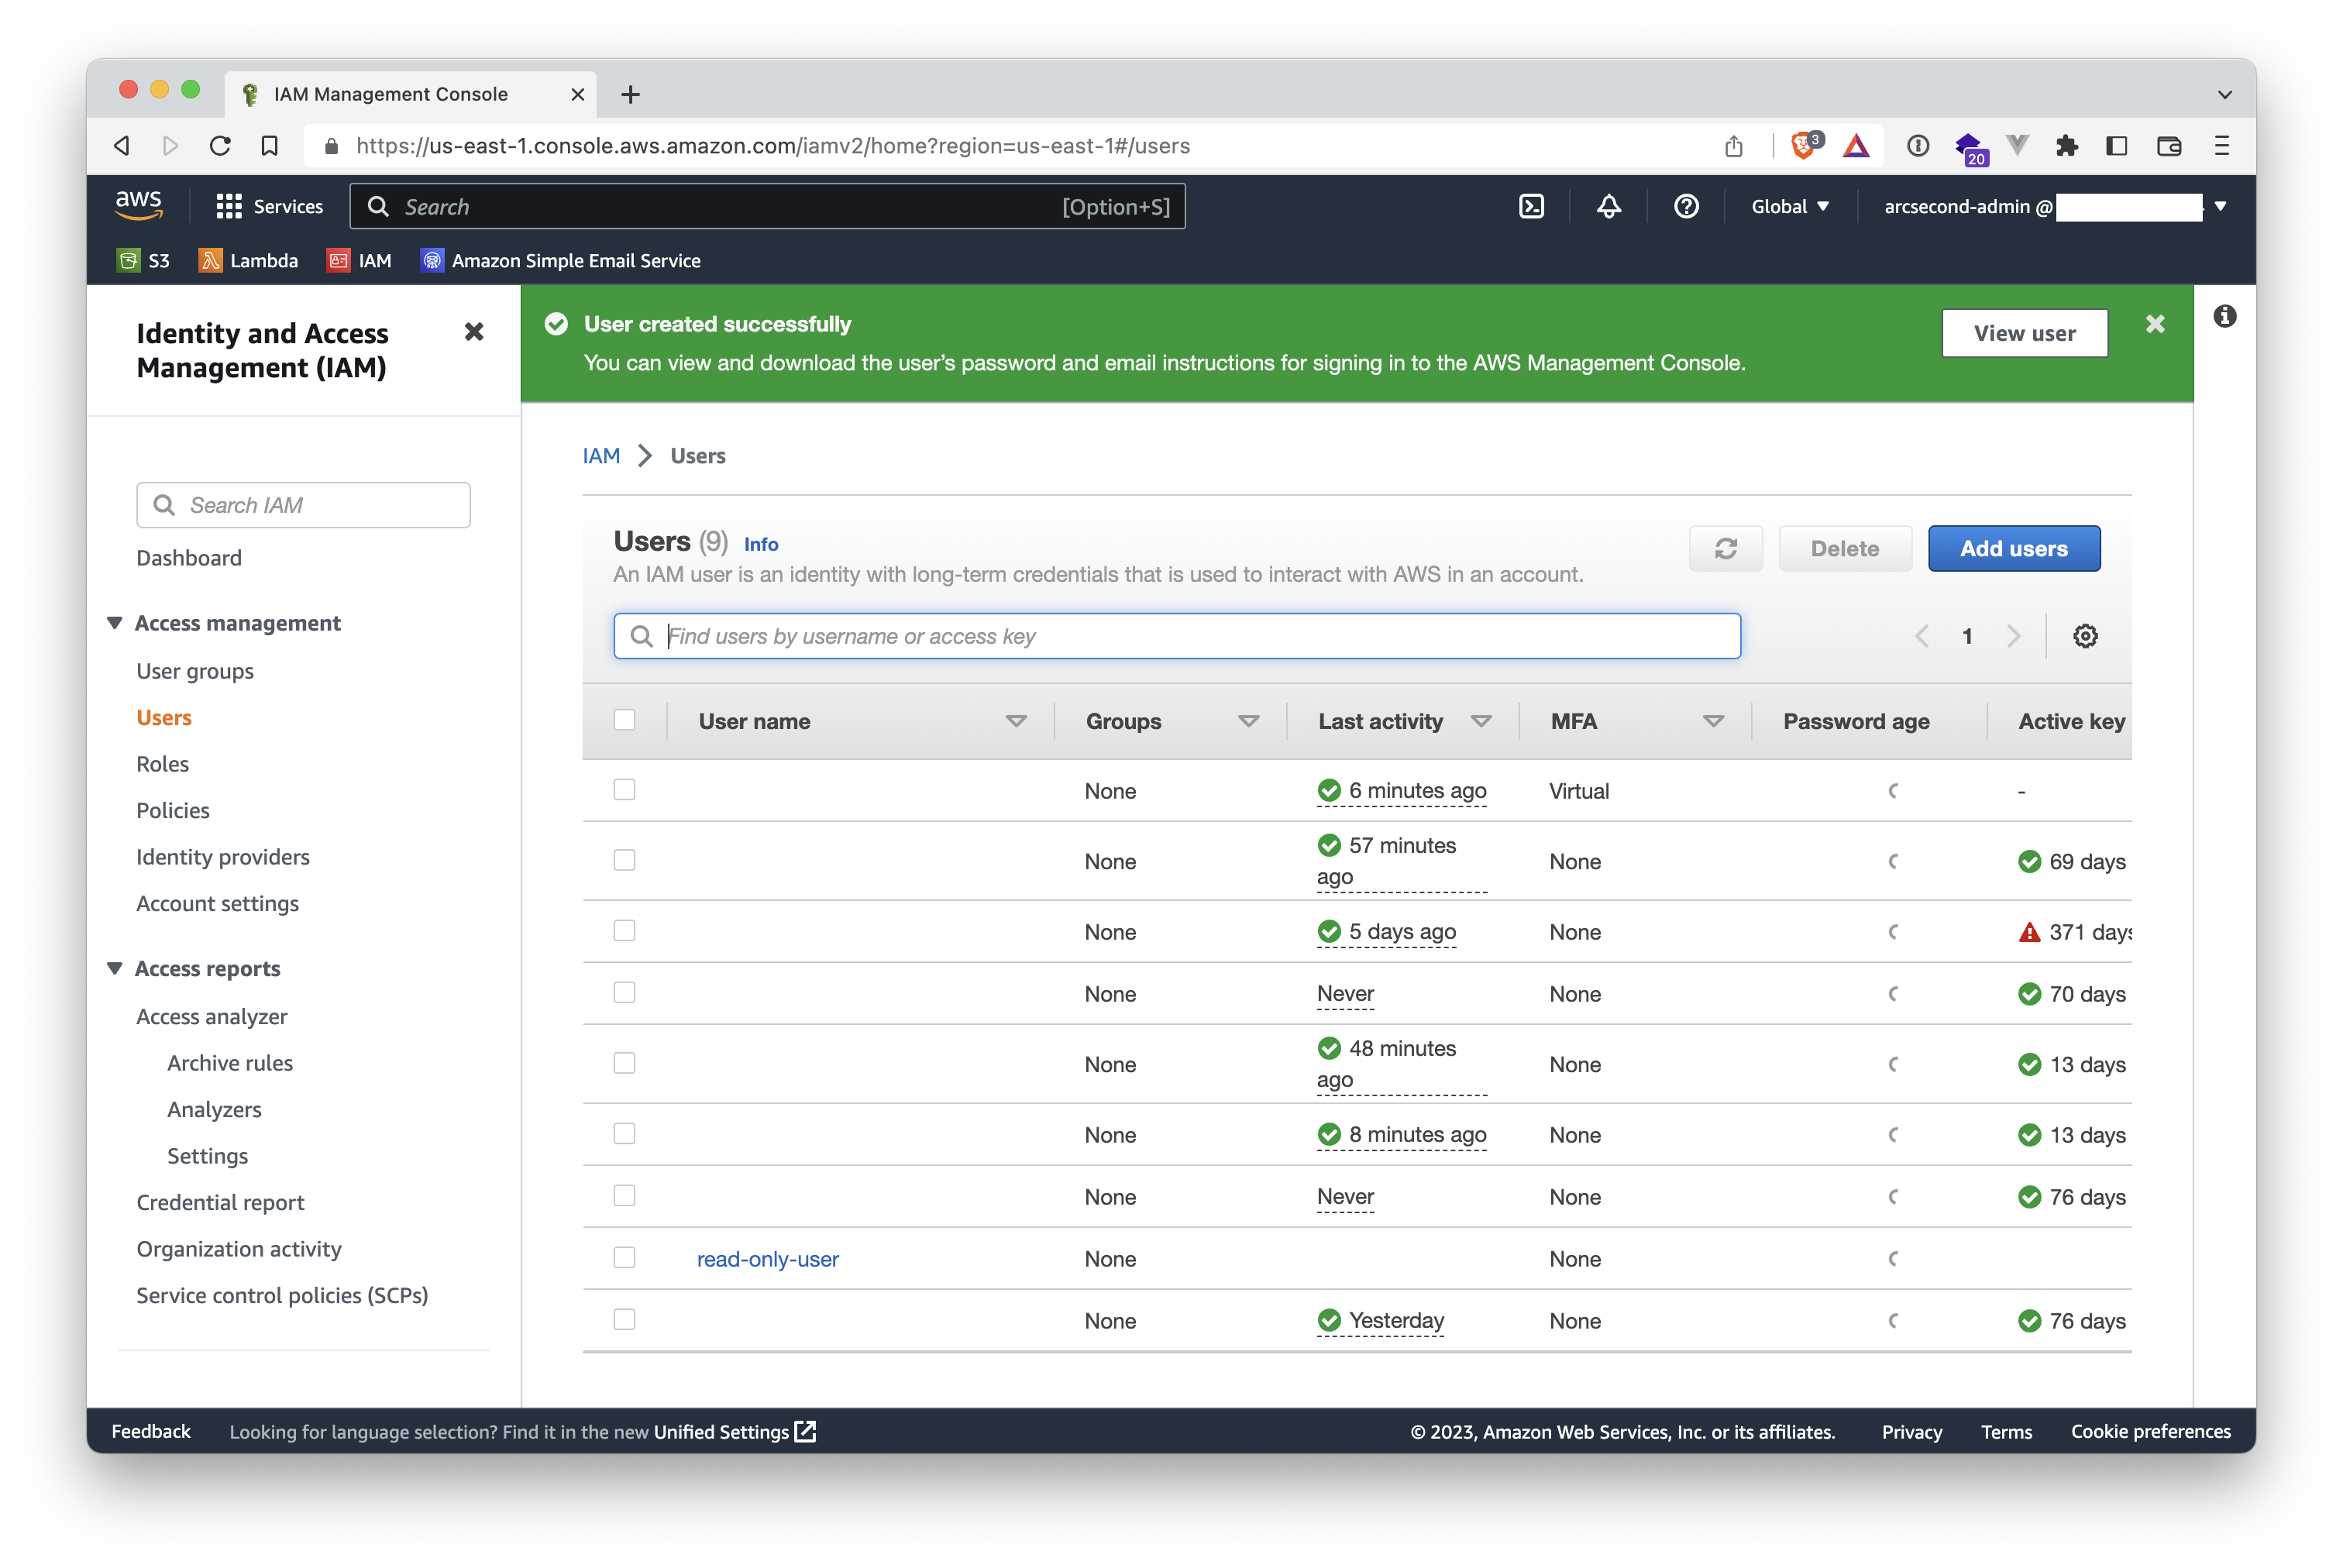
- Review that everything is fine, and click the "Create user" button on the lower-right.

- Your user is created! Click on either "View User" in the green banner, or in the user itself in the updated list.
- Select the "Security credentials" tab.
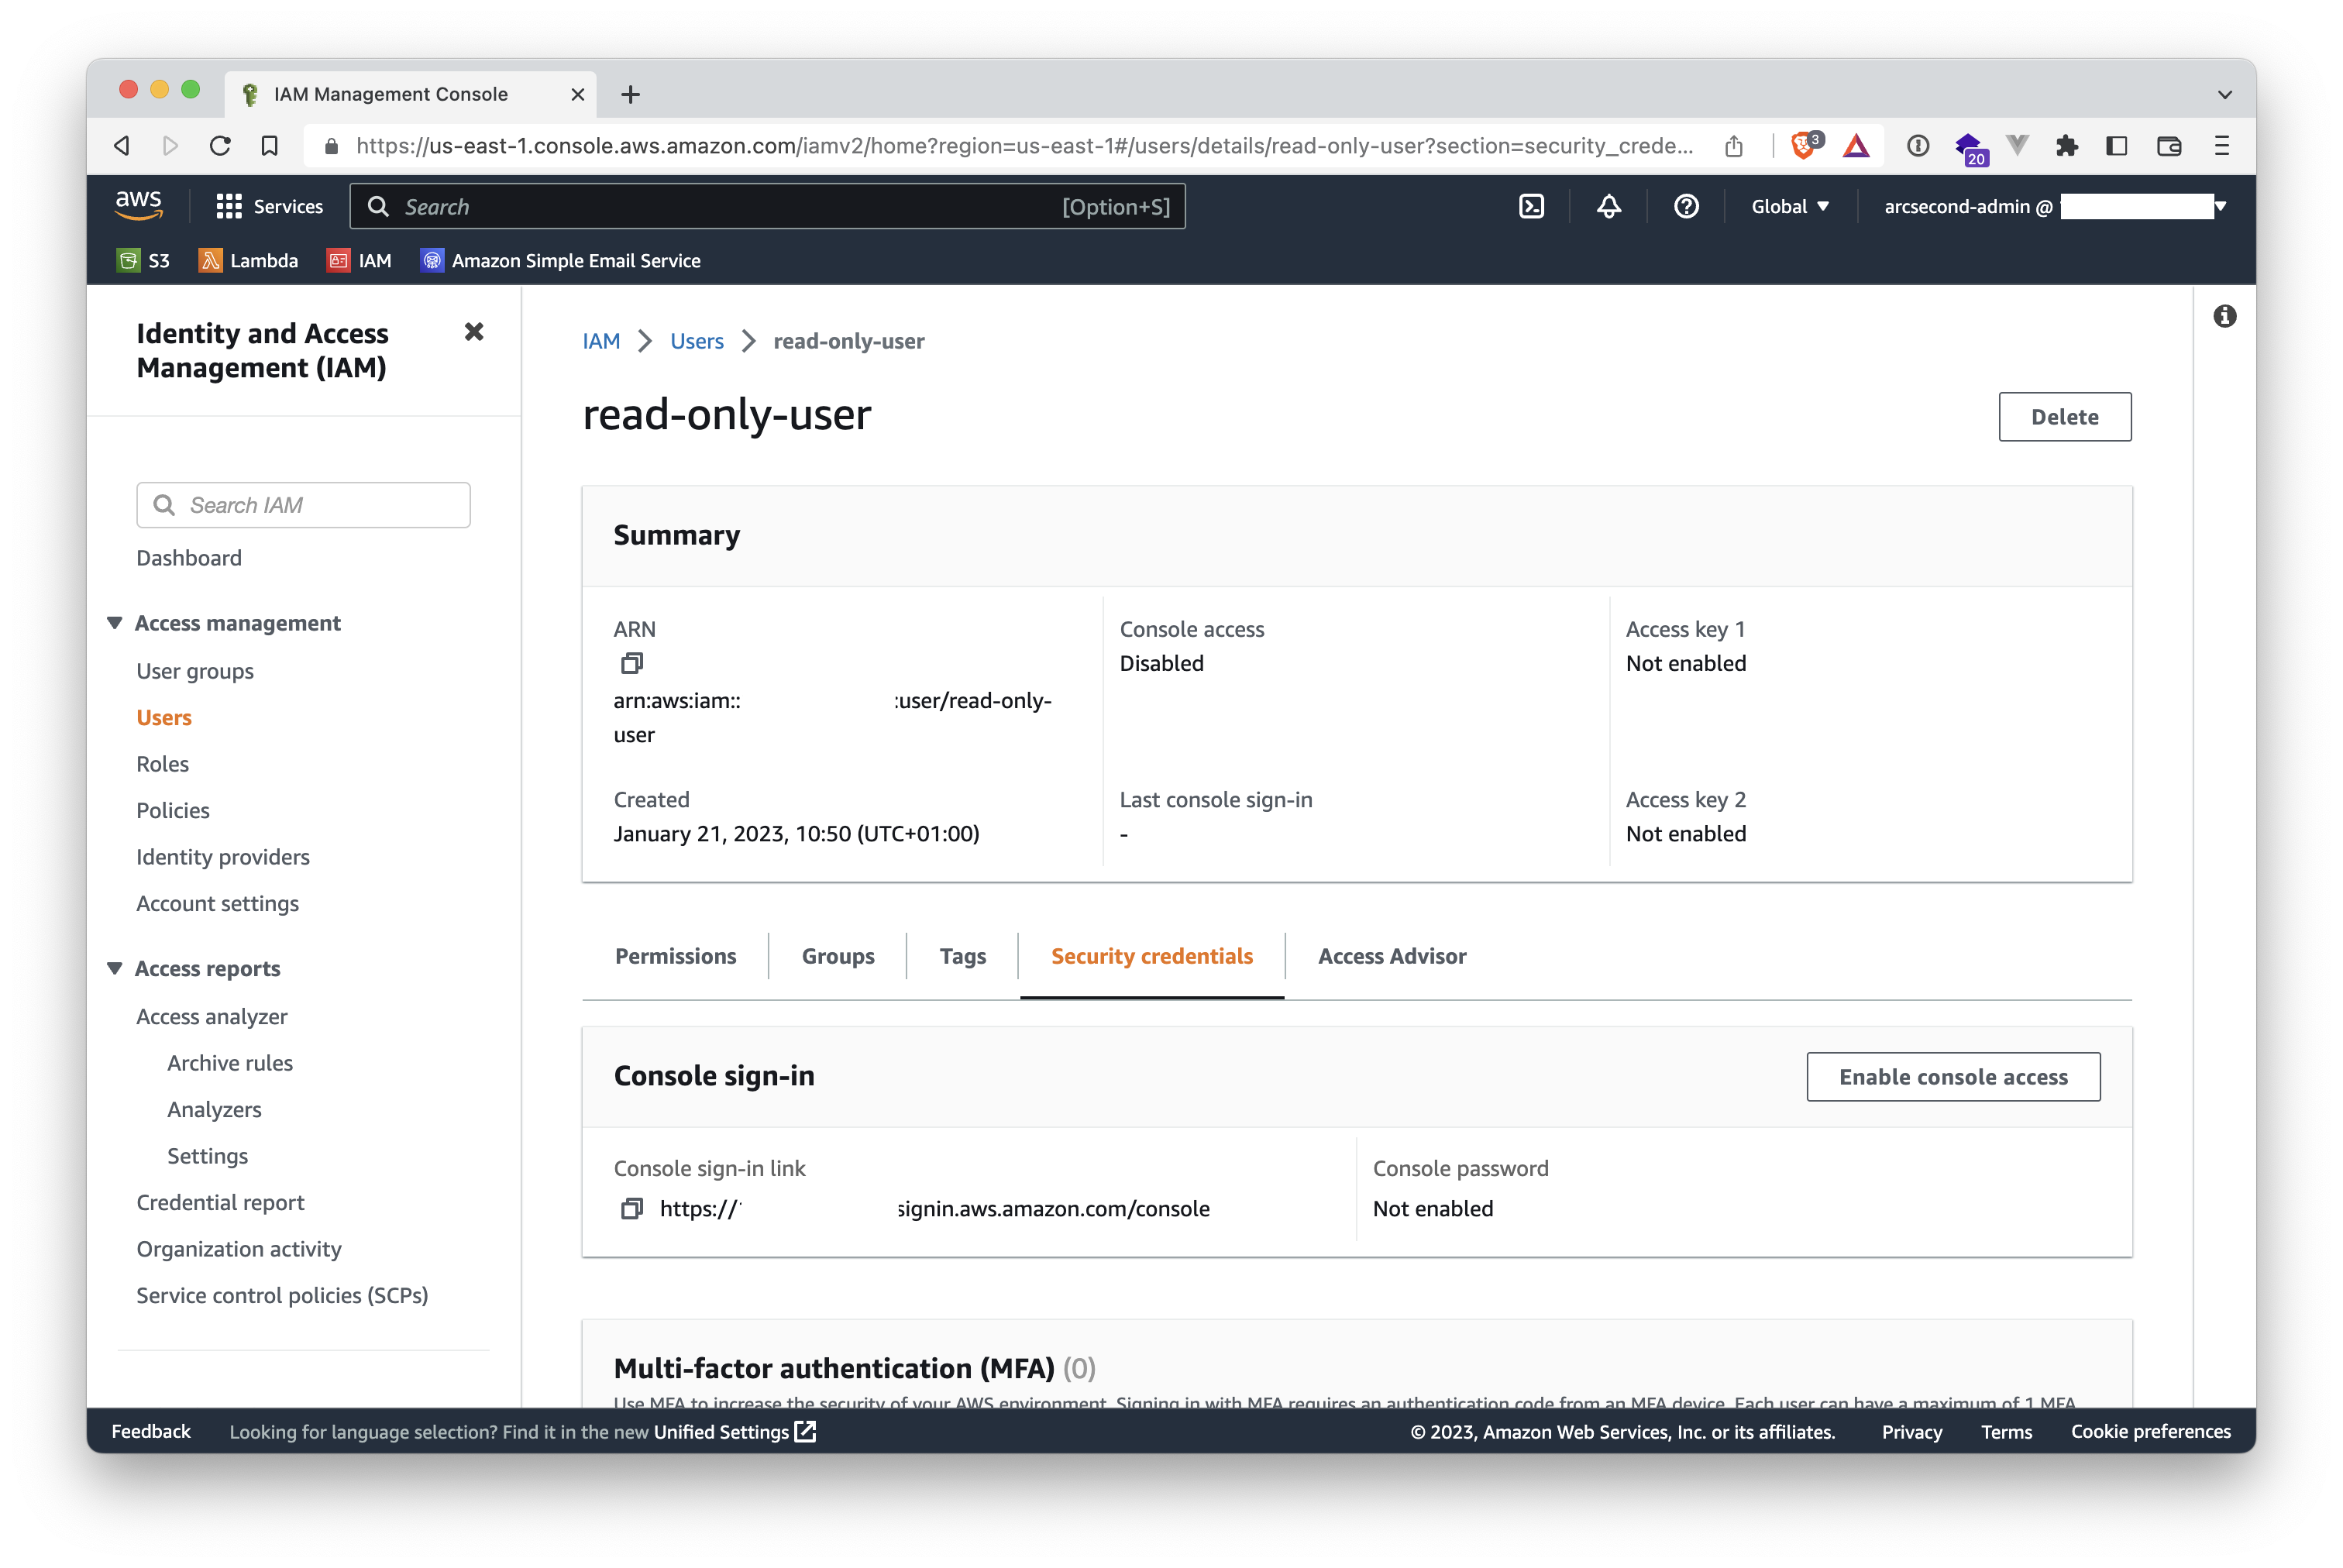
- Scroll down to reveal the "Access Keys" section. Click the "Create access key" button in the middle.
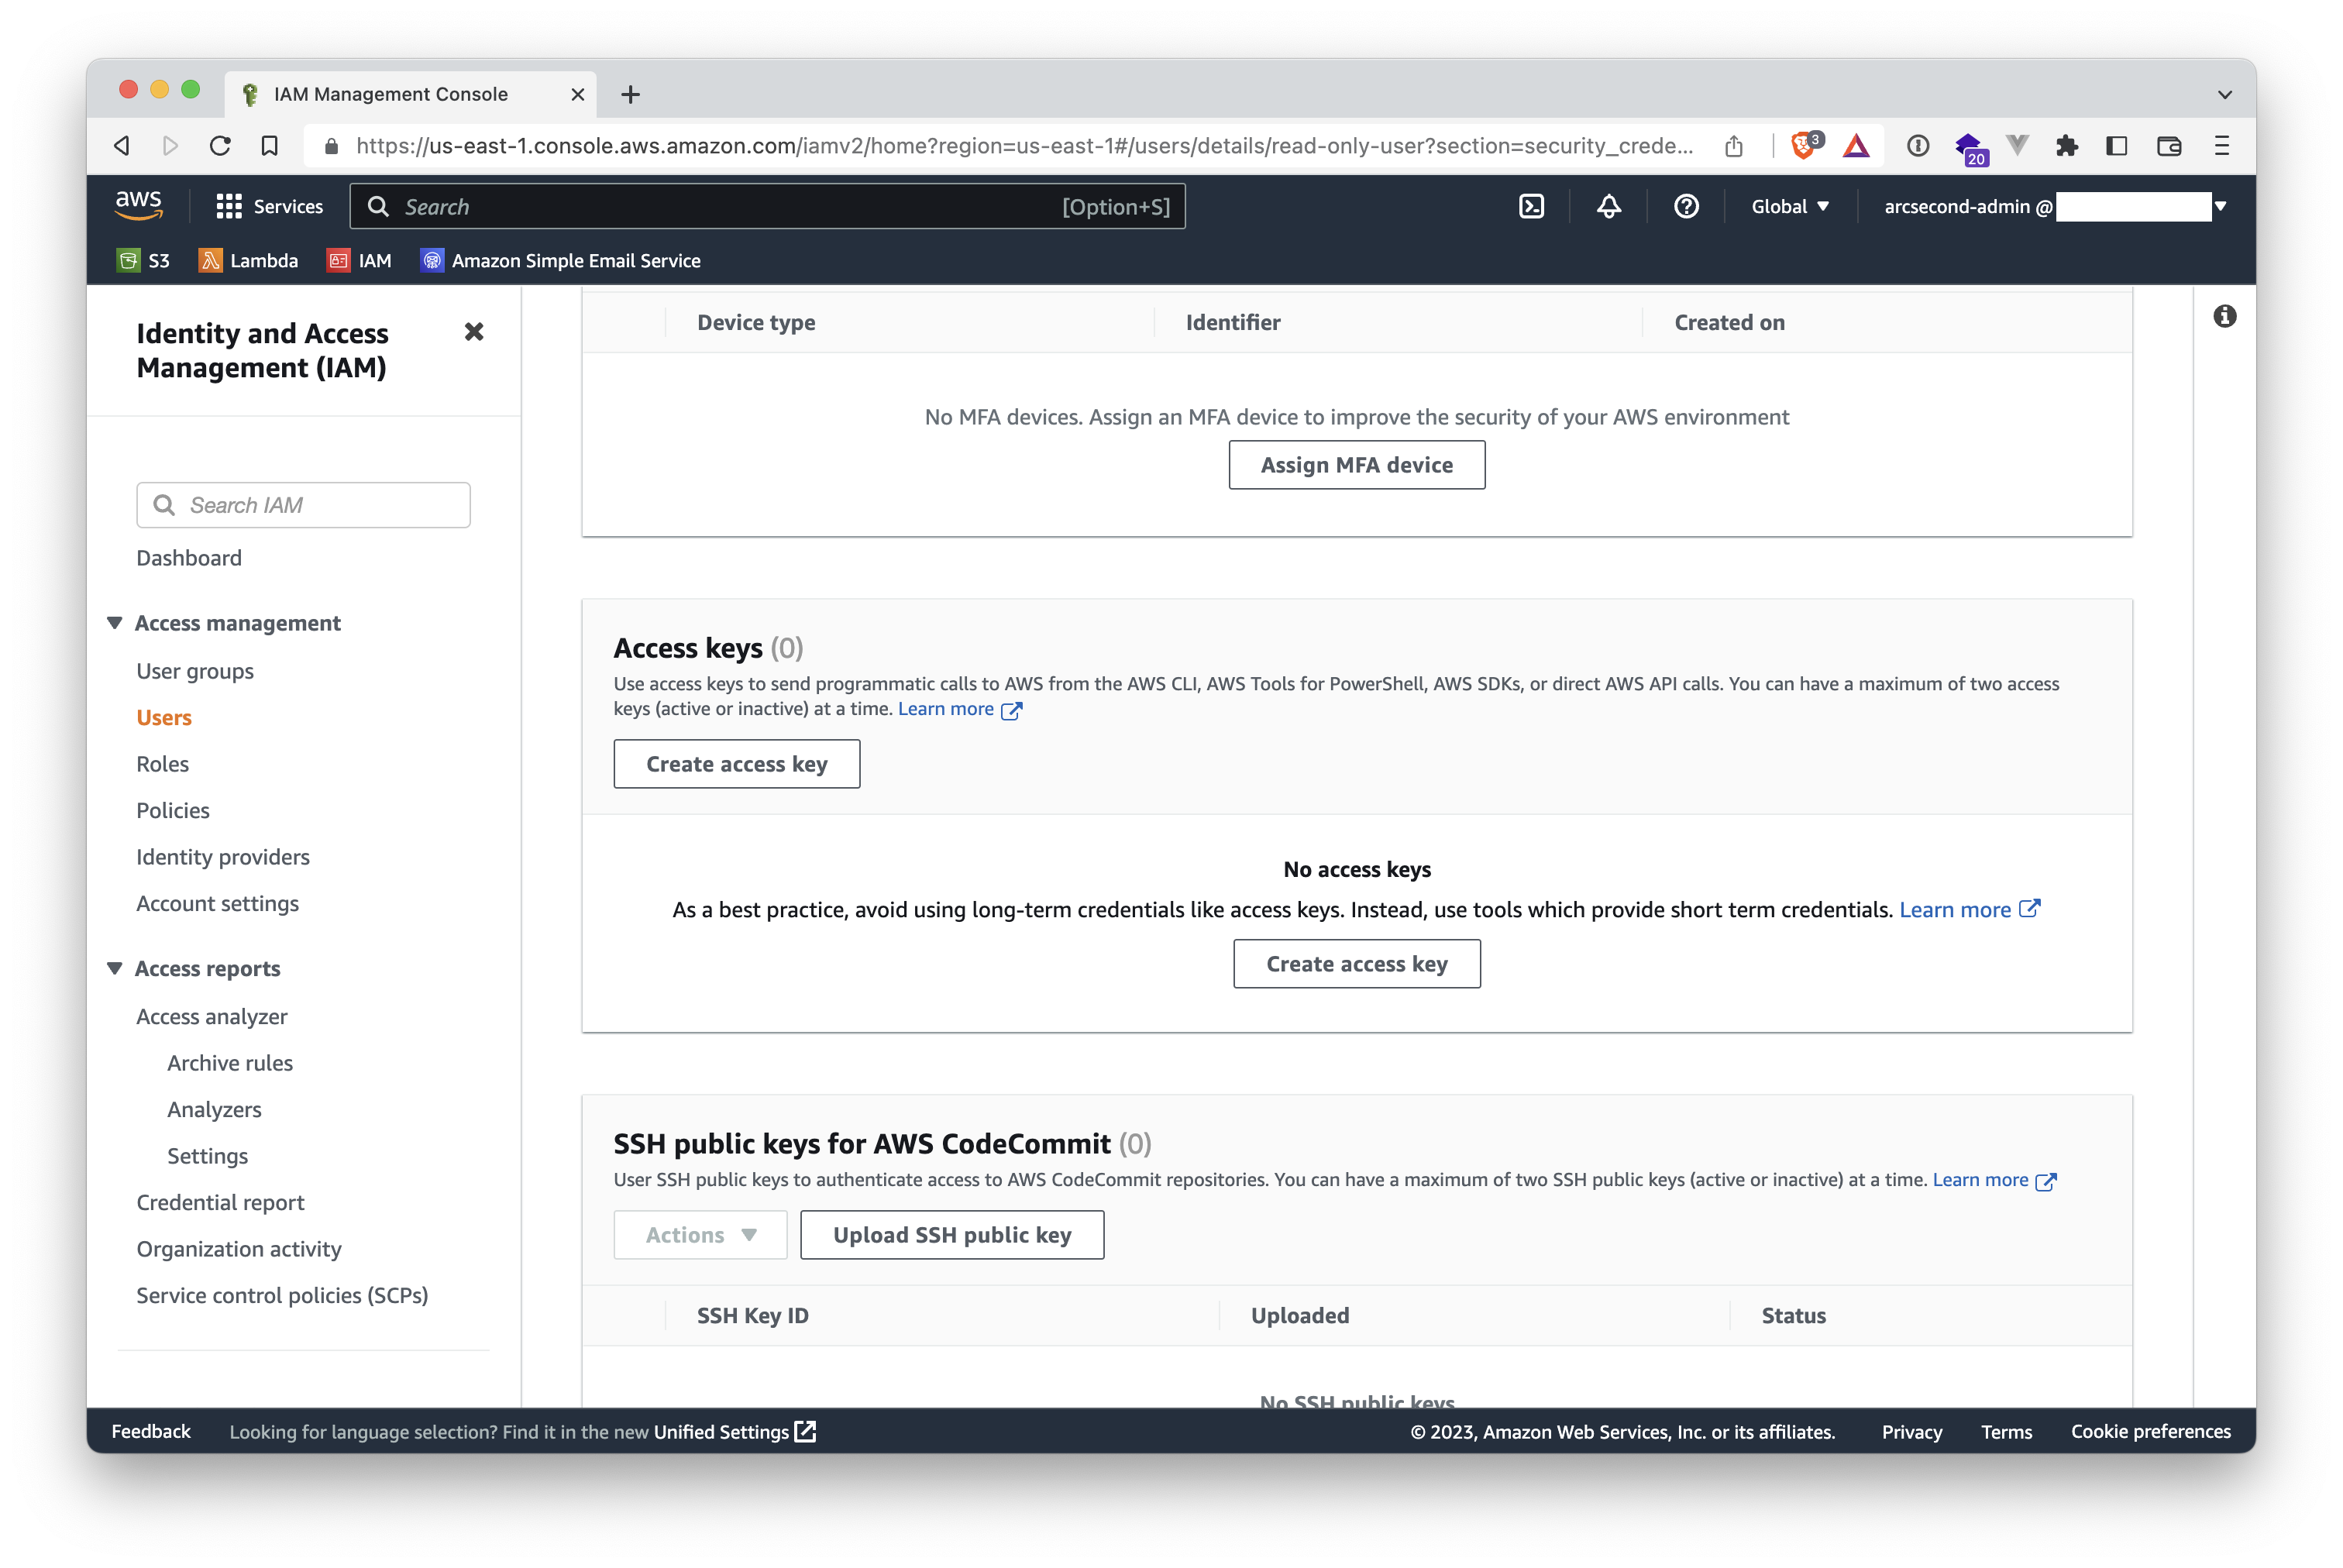
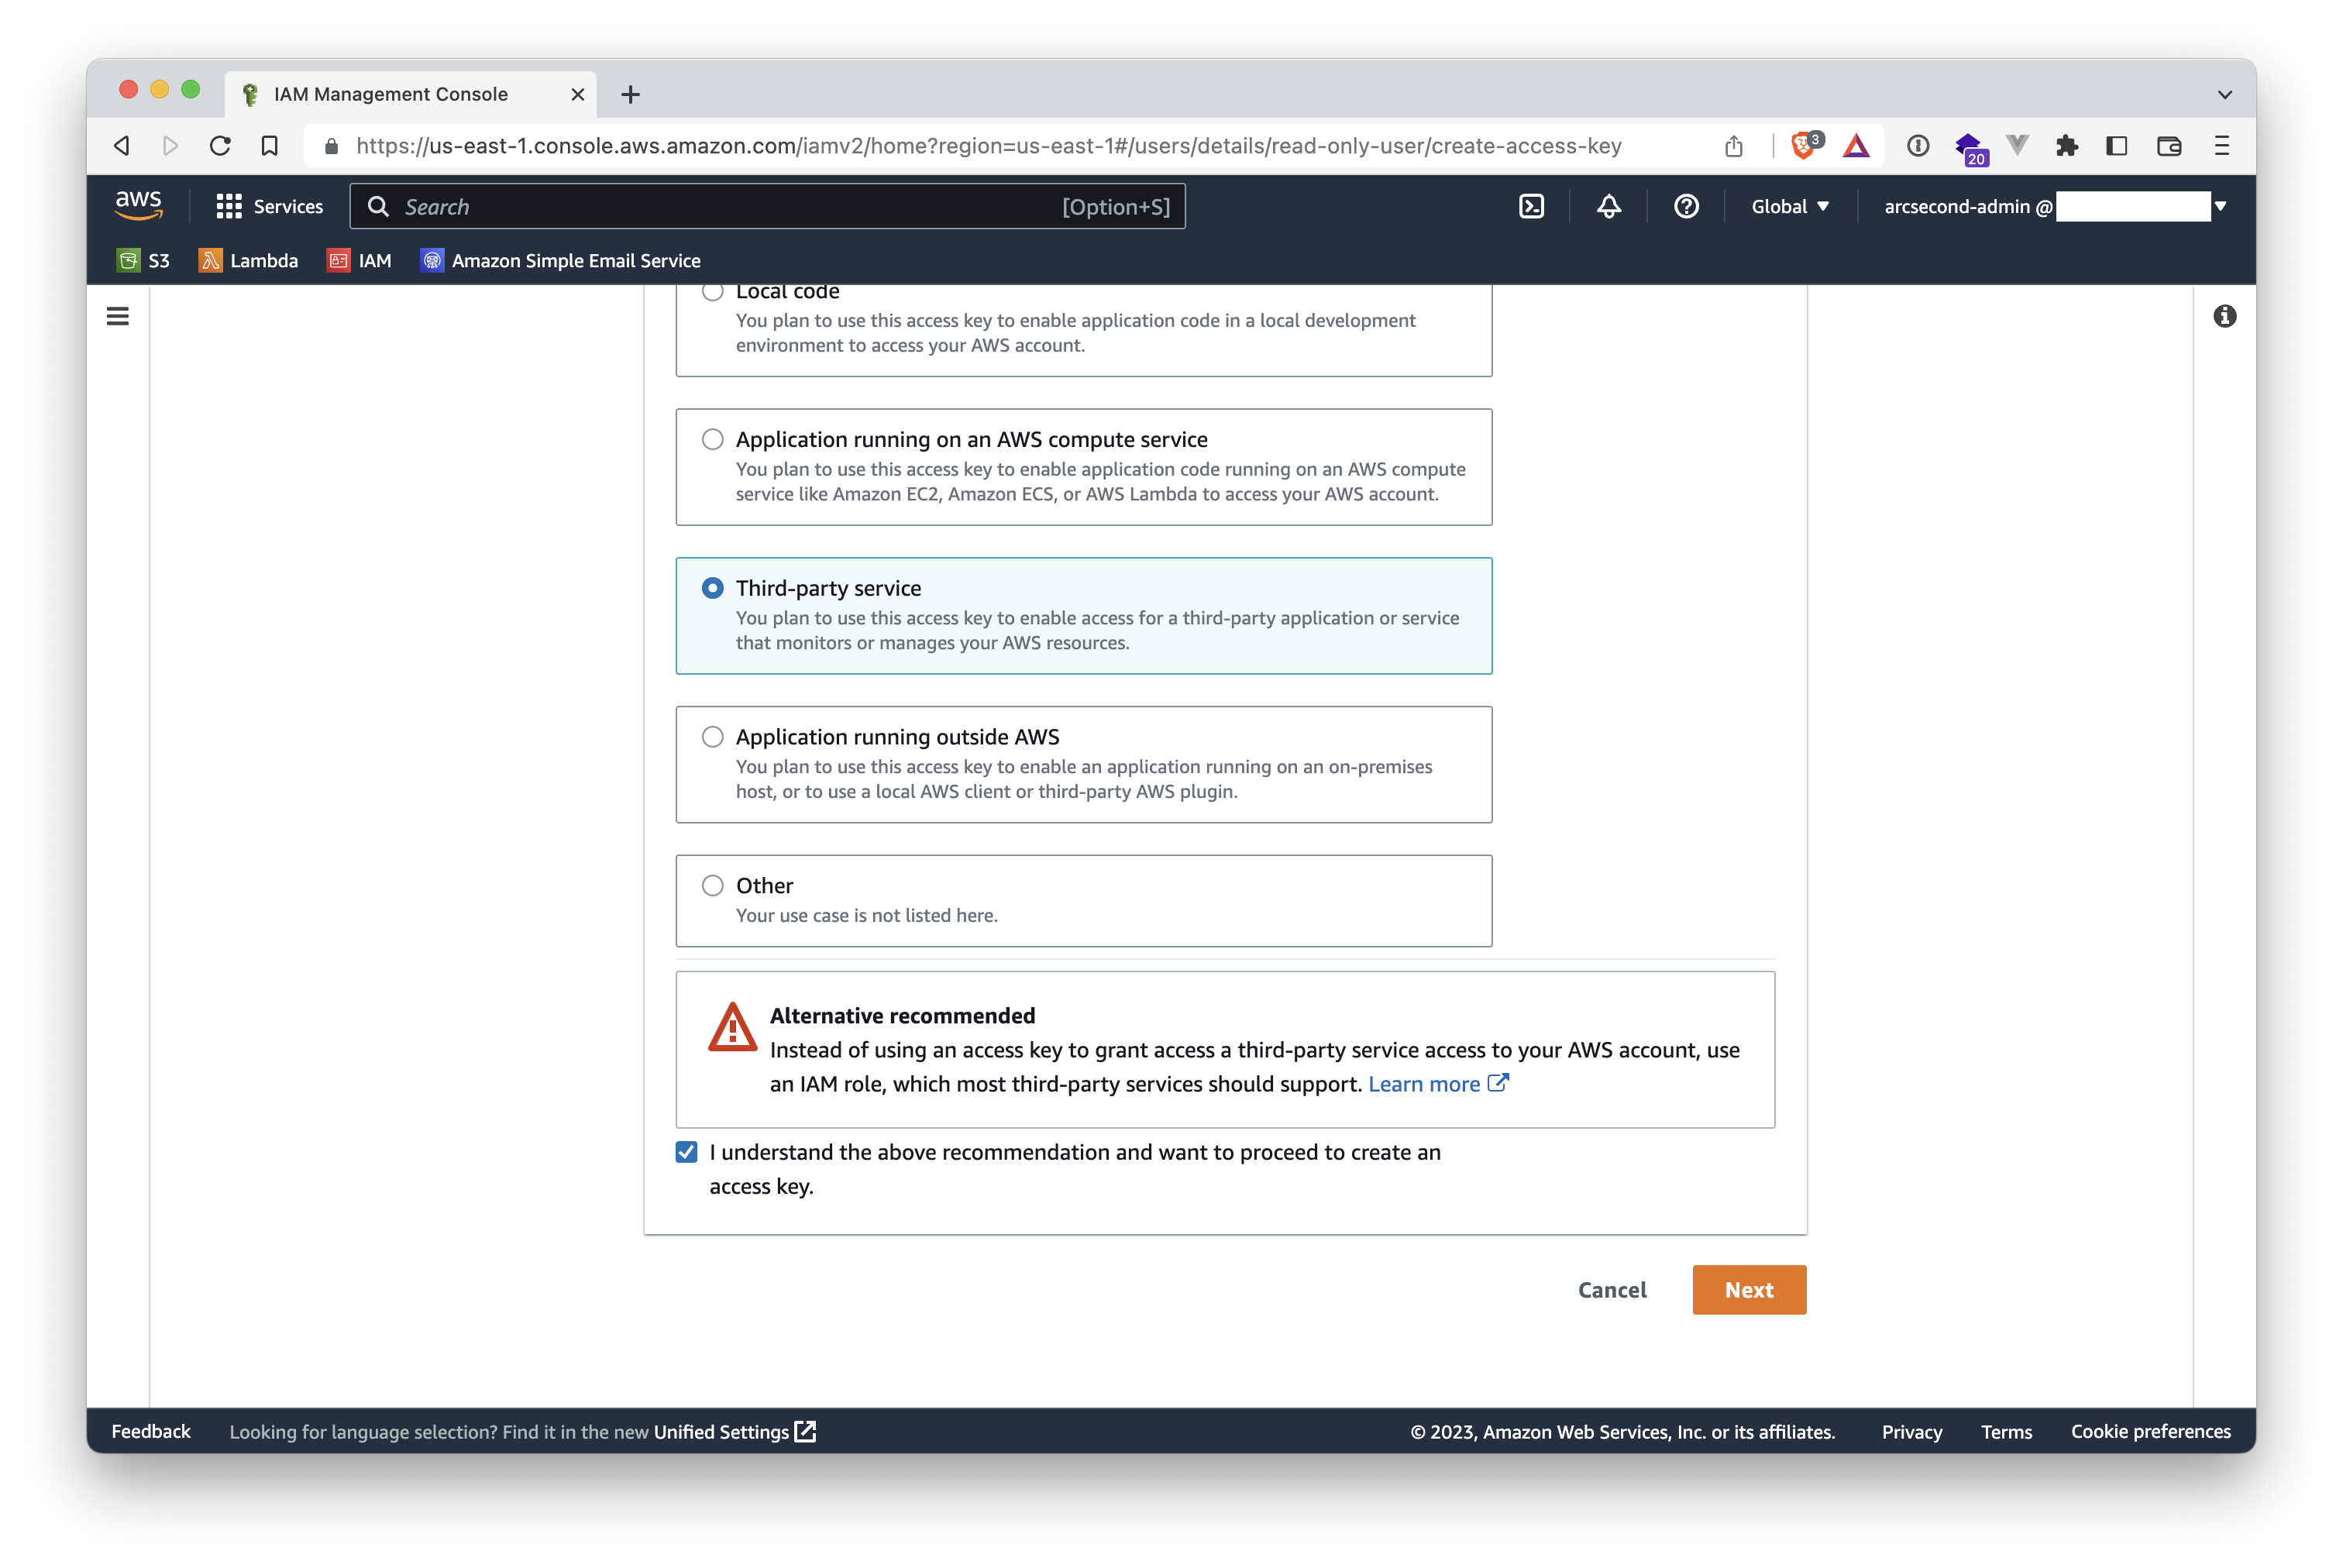
- As explained above, Arcsecond recommends not using access keys for third-party. Yet, Arcsecond only works with such keys for now. Select the checkbox "I understand the above recommendation..."
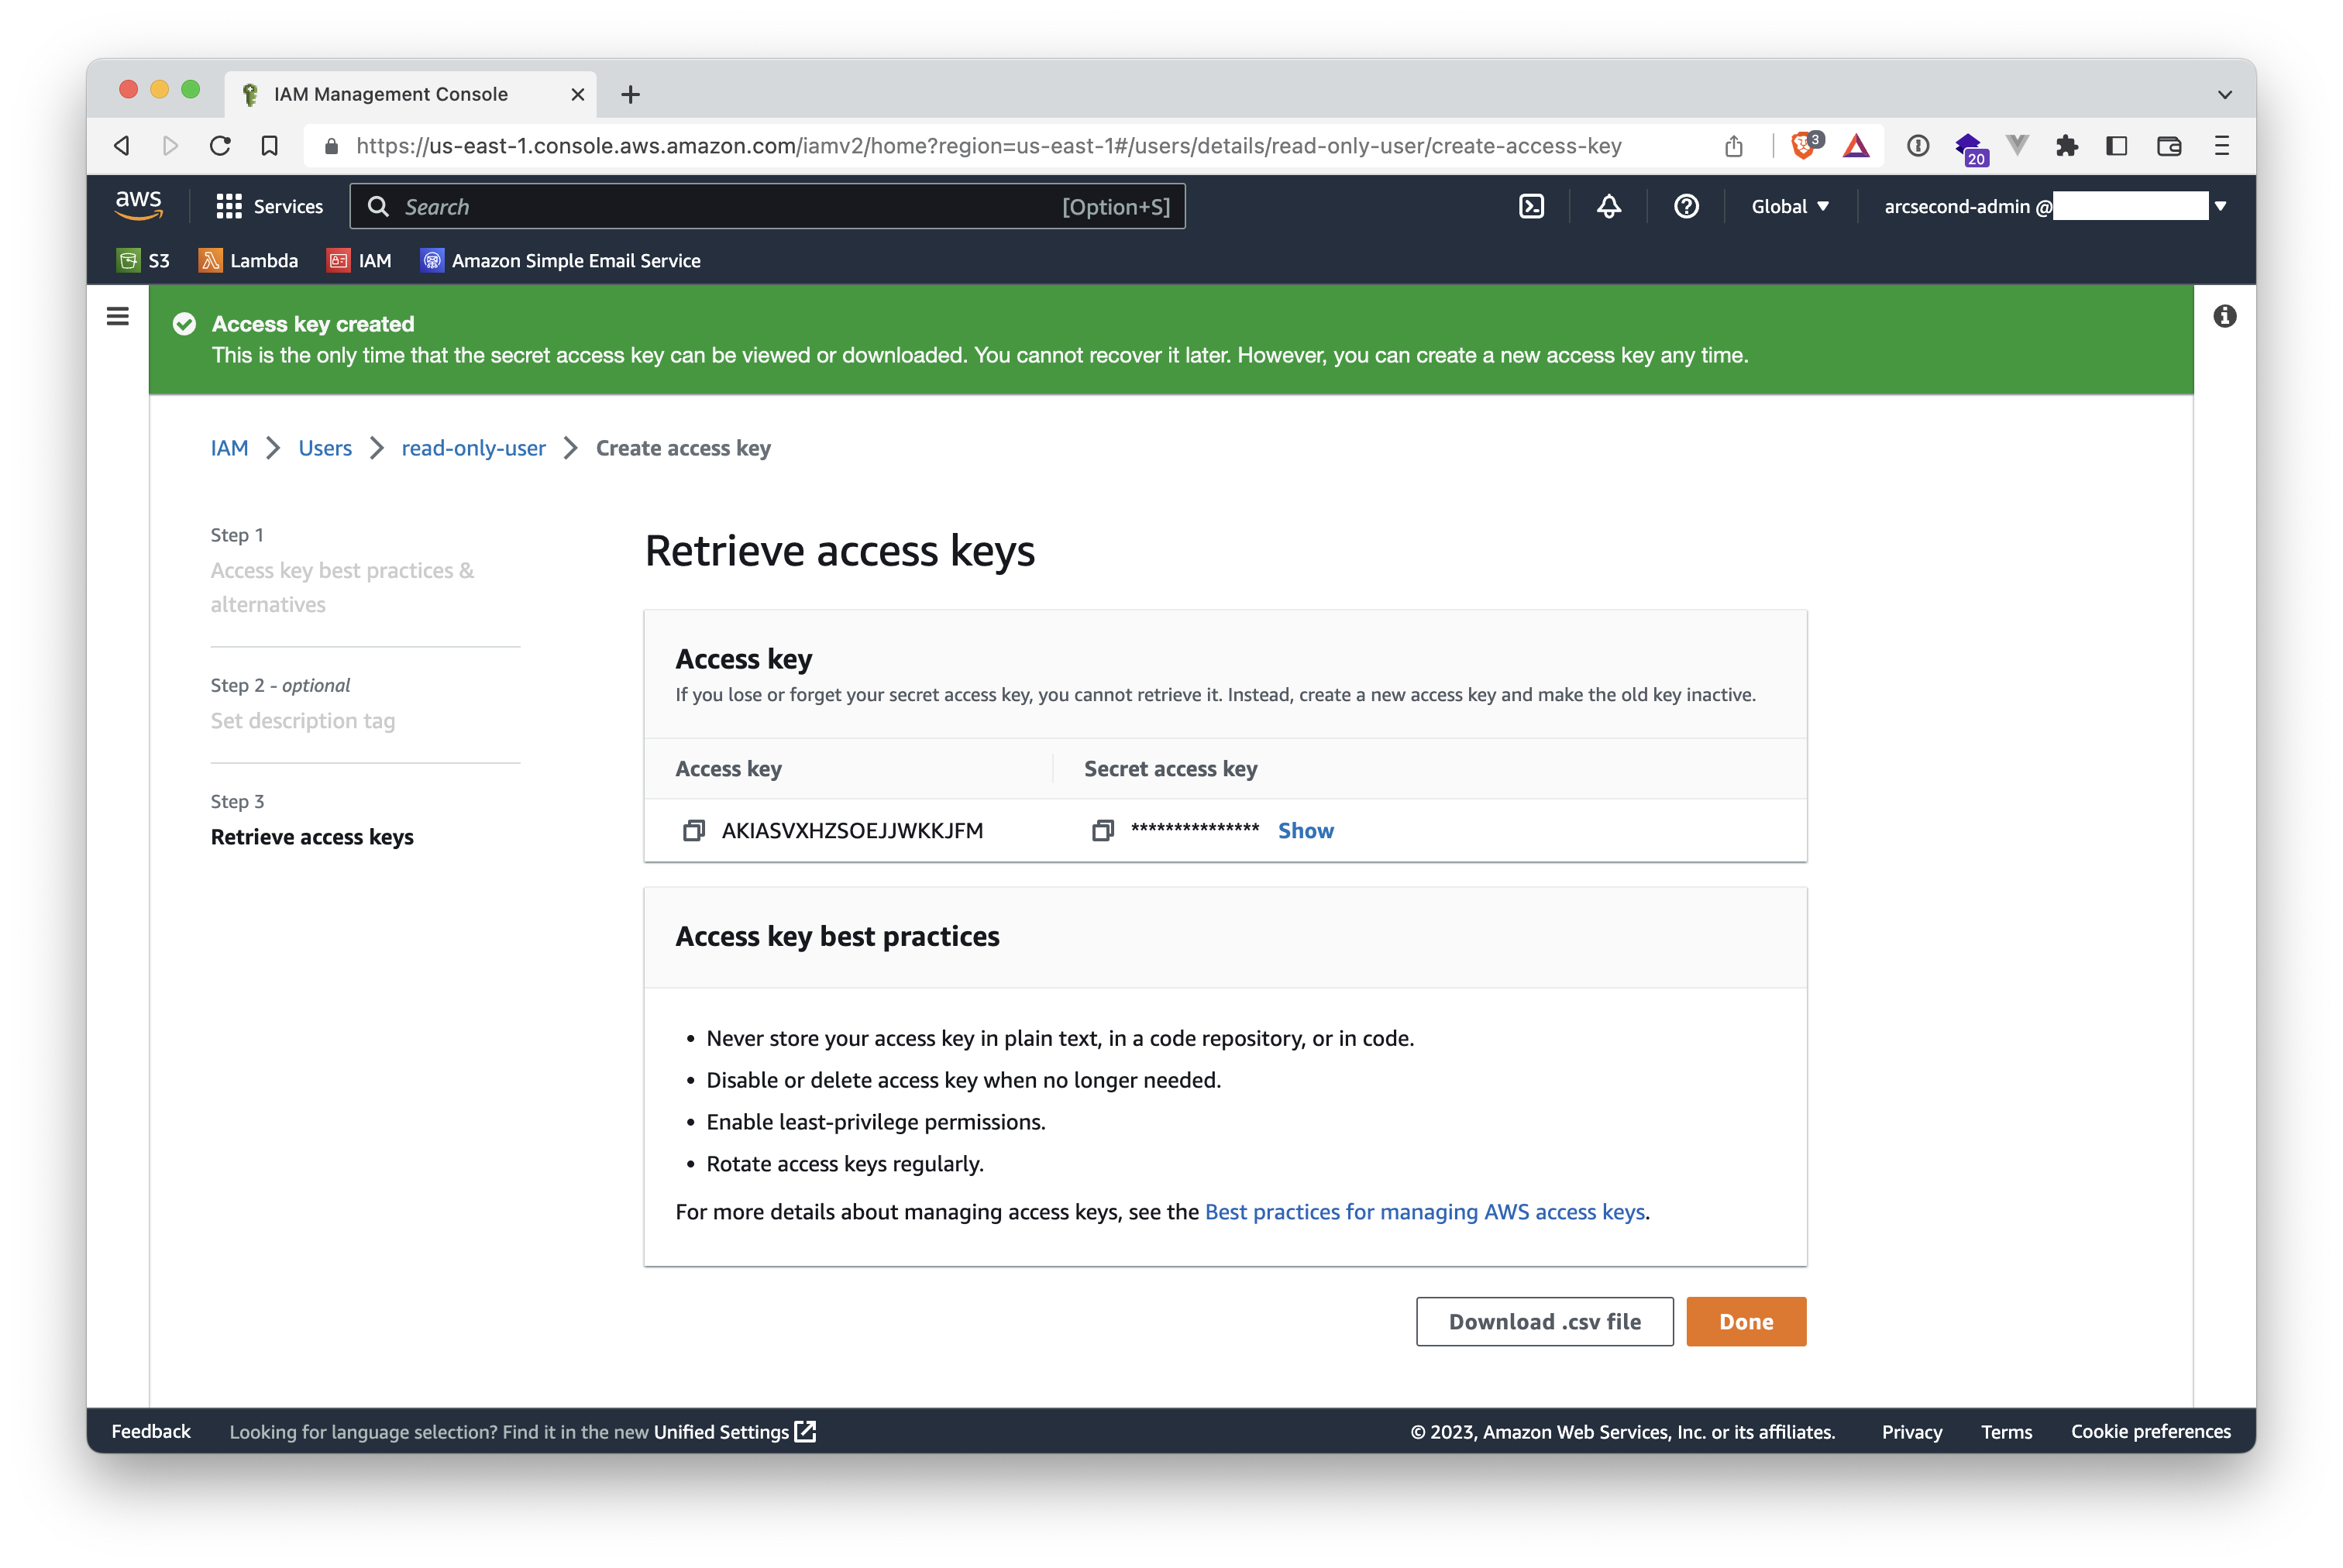
- Your access keys are created! Make sure to store them somewhere safe, you won't be able to retrieve them from Arcsecond. The first value is the
AWS_ACCESS_KEY_IDand the second is theAWS_SECRET_ACCESS_KEY.
DANGER
If you do not click the "Show" button to note the Secret key, and then leave that page, you won't be able to retrieve it from AWS. You will have to create new one from scratch.
Click "Done", and you're done! Now you can navigate to the Storages section of your Arcsecond settings, and attach your AWS storage.